Tree Editor
Steps
1.Click Edit , select the class and point cloud file to edit, and click Start Edit
 . The point cloud in the 3D window is displayed according to the selected individual-tree type ID.
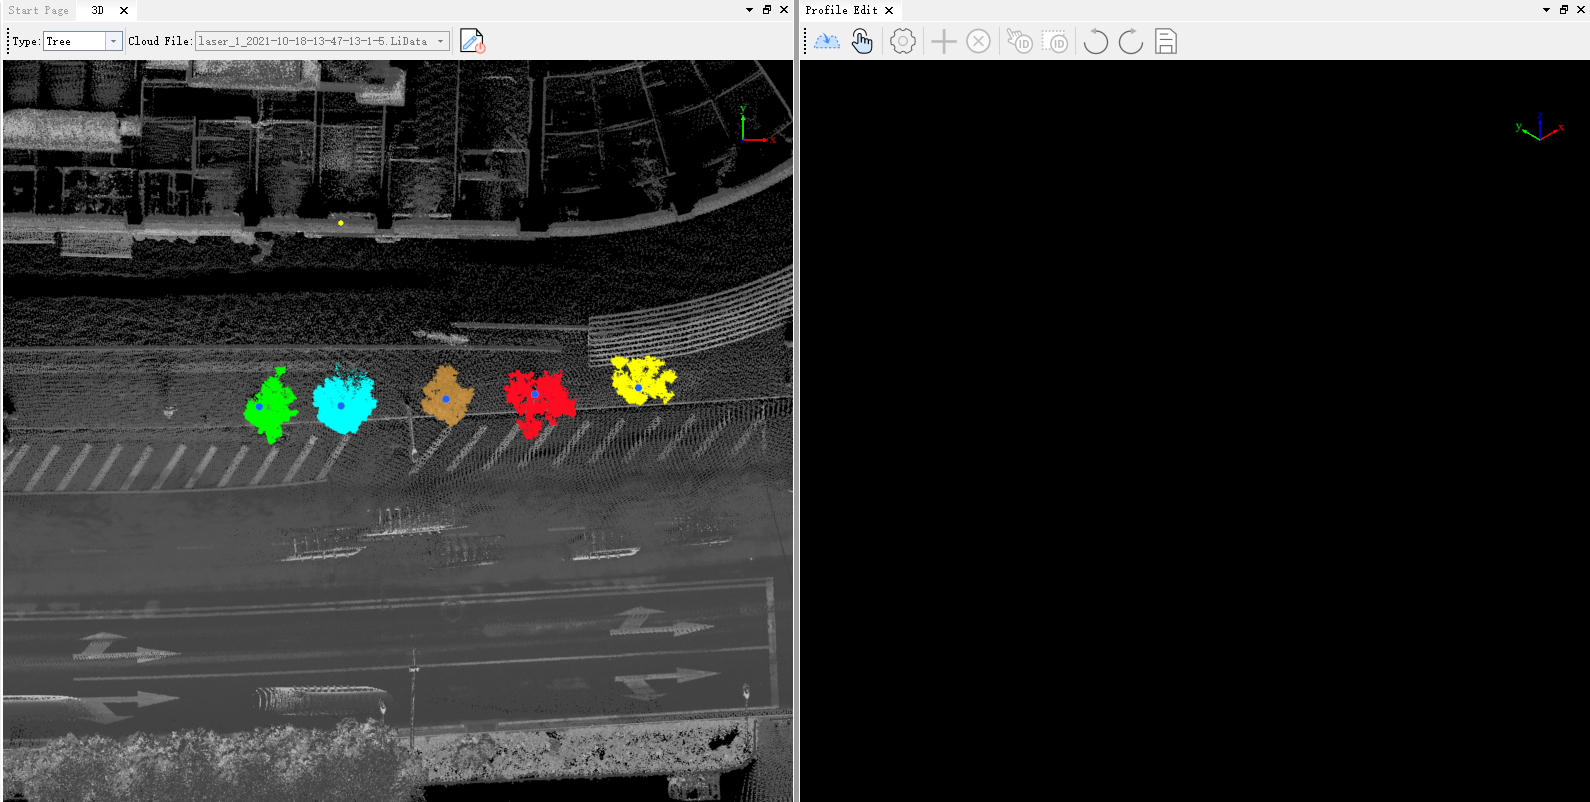
2.After editing starts, the Tree Editor window opens automatically. Use this window to add or delete individual trees and modify their points.
3.In the 3D window, click the left mouse button to draw an editing region. Points inside the region appear in the Tree Editor window. Under Edit Region, you can change the region shape and move it with W/A/S/D, rotate it with Q/E, expand it, or scale it.
4.Click Load Edit Region in the Tree Editor window to load the point cloud in the editing region into memory. Editing is unavailable until the region is loaded.
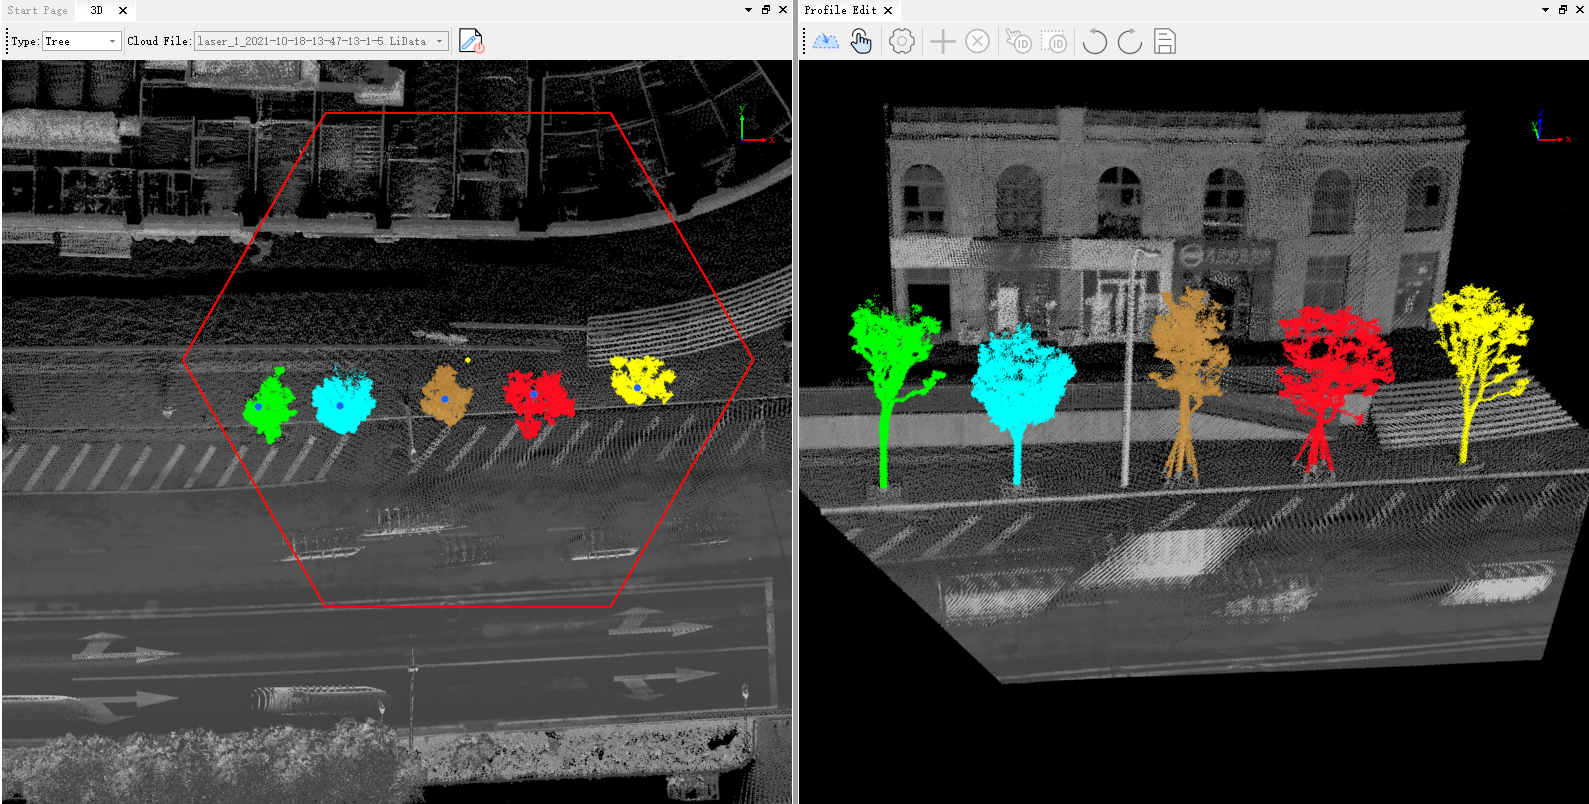
5.If the editing region does not fully include the tree, redraw it or use Move in the 3D window to adjust its position.
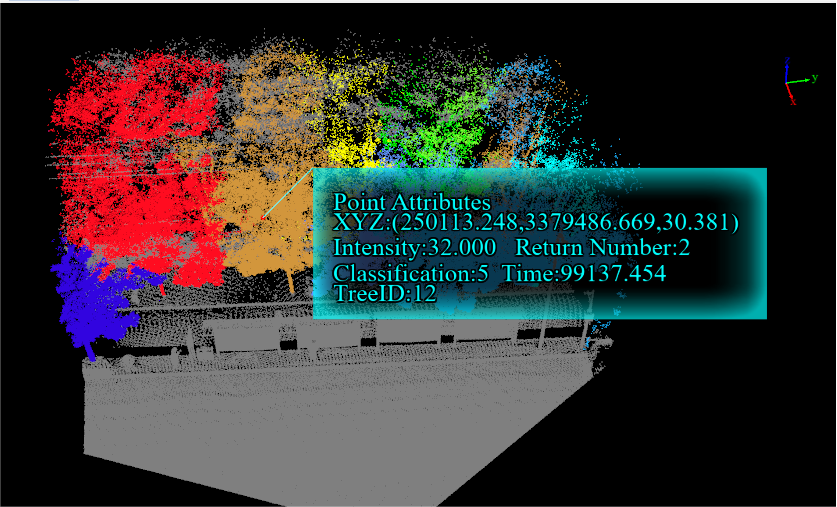
6.Click Pick in the Tree Editor window to view attributes of a selected point, including 3D coordinates, GPS time, intensity, RGB, and Object ID.
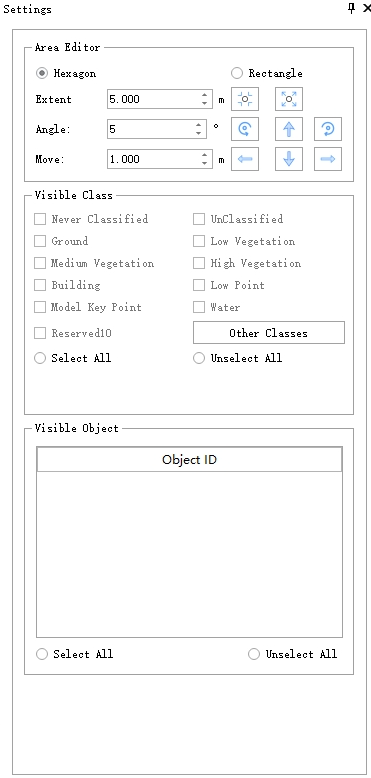
7.Settings: Click Settings in the Tree Editor window. Select the classes and individual-tree IDs to display so that only points required for editing remain visible, reducing interference from background point clouds.
8.Full Extent: If the point cloud is moved outside the current Tree Editor view and cannot be recovered by zooming, click Full Extent to fit the selected region to the window.
9.Hide Object: Click Hide Object and select individual trees that do not need editing. This setting is linked to the visible-object checkboxes in Settings; select a checkbox again to show a hidden object.
10.Create Object: Click Create Object and select the points belonging to the new tree. Their Object IDs are assigned a new value, and a new object record is added to the attribute table. For detailed point editing, use Merge by Pick or Merge by Polygon.
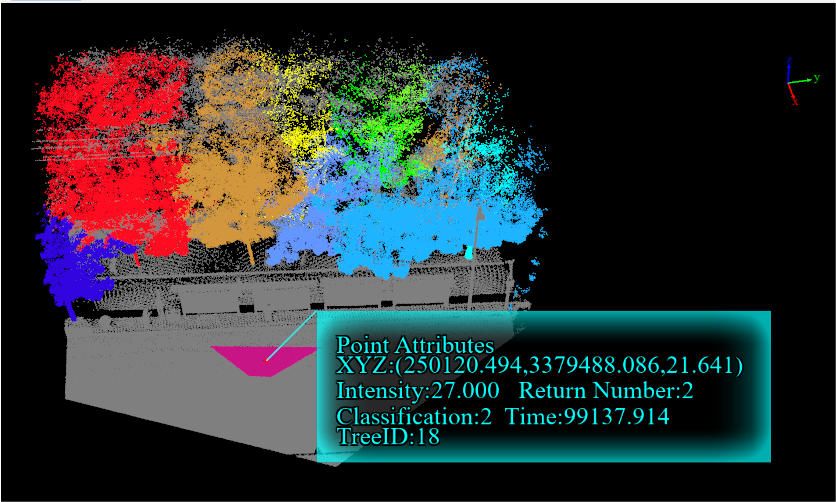
Create Individual Tree
11.Delete Object: Click Delete Object and select an individual tree. The Object ID of its points in the editing region is set to zero, and its record is deleted from the attribute table.
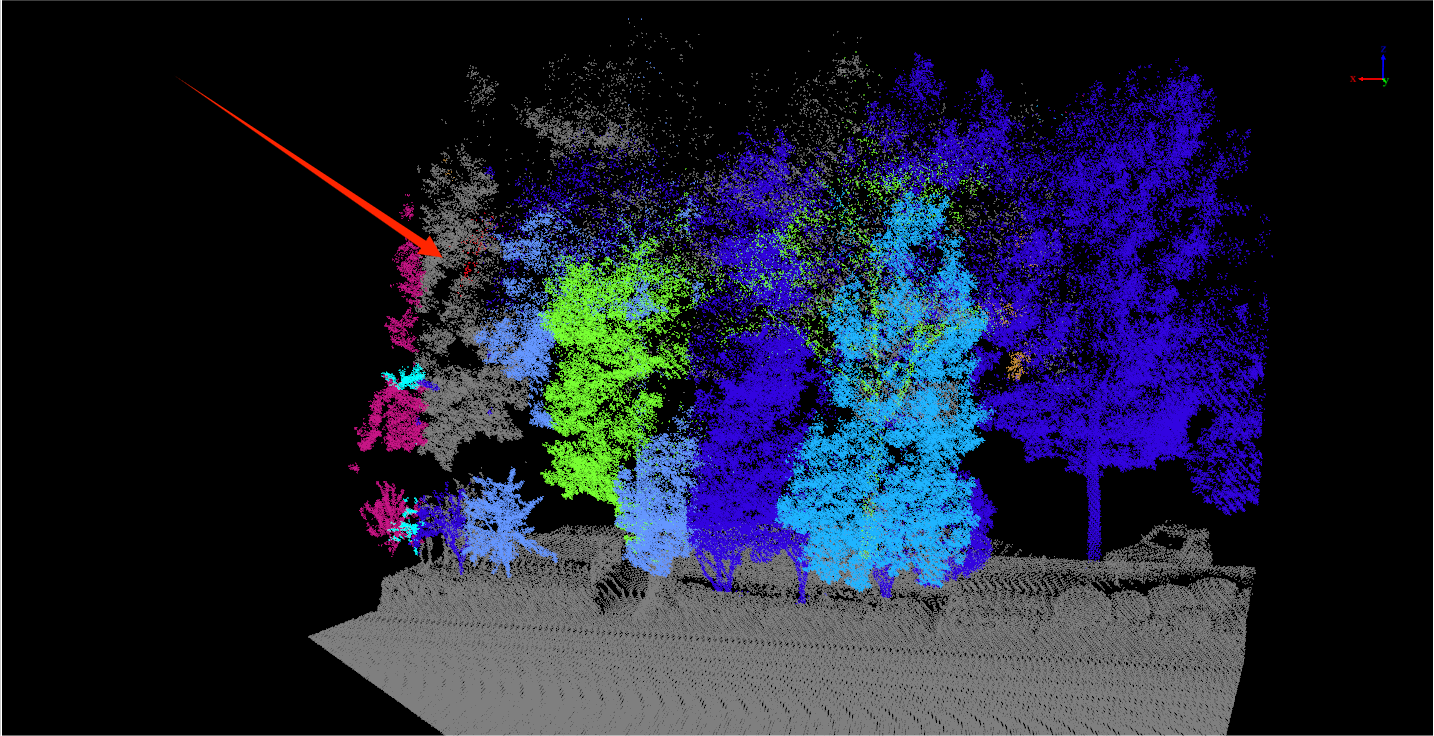
Delete Individual Tree
12.Merge by Pick: Click Merge by Pick and click two individual-tree points in sequence. The Object ID of the first tree is changed to the Object ID of the second tree. This can merge two individual-tree point clouds or remove one tree from the editing region.
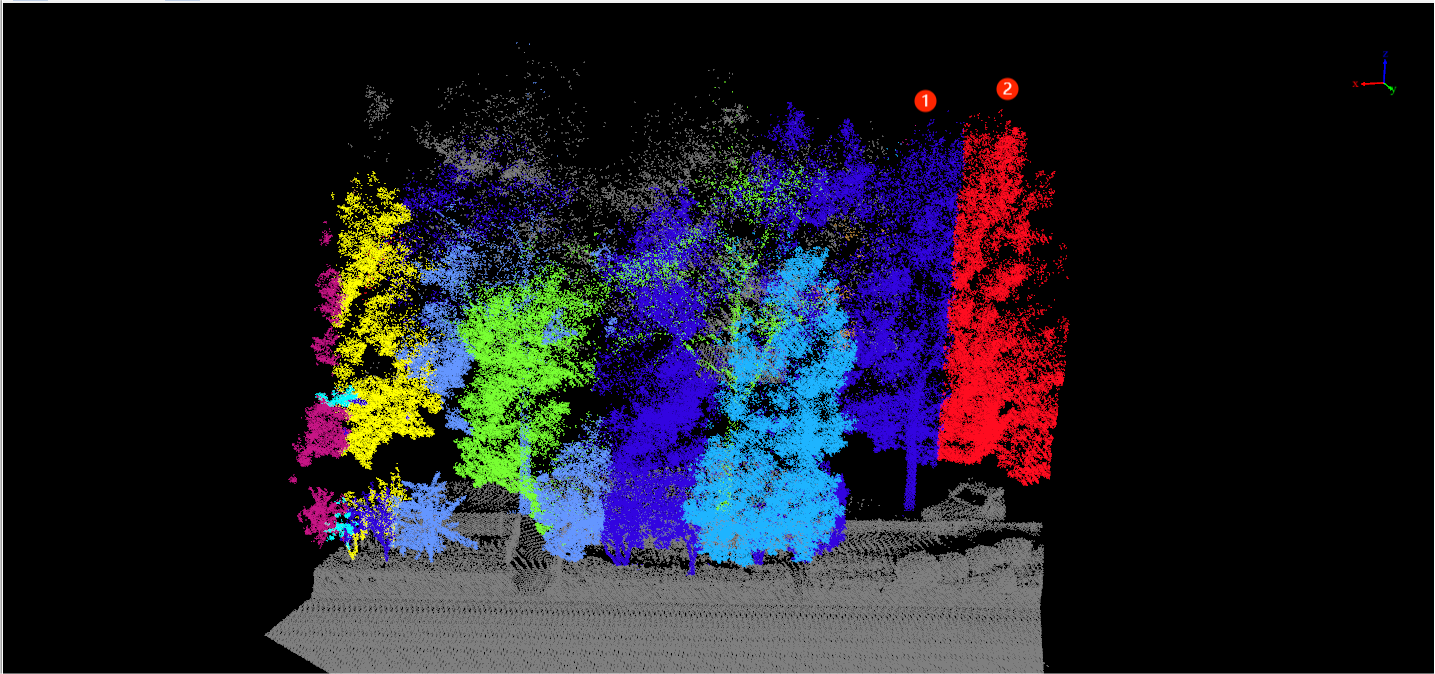
Before Merge by Pick
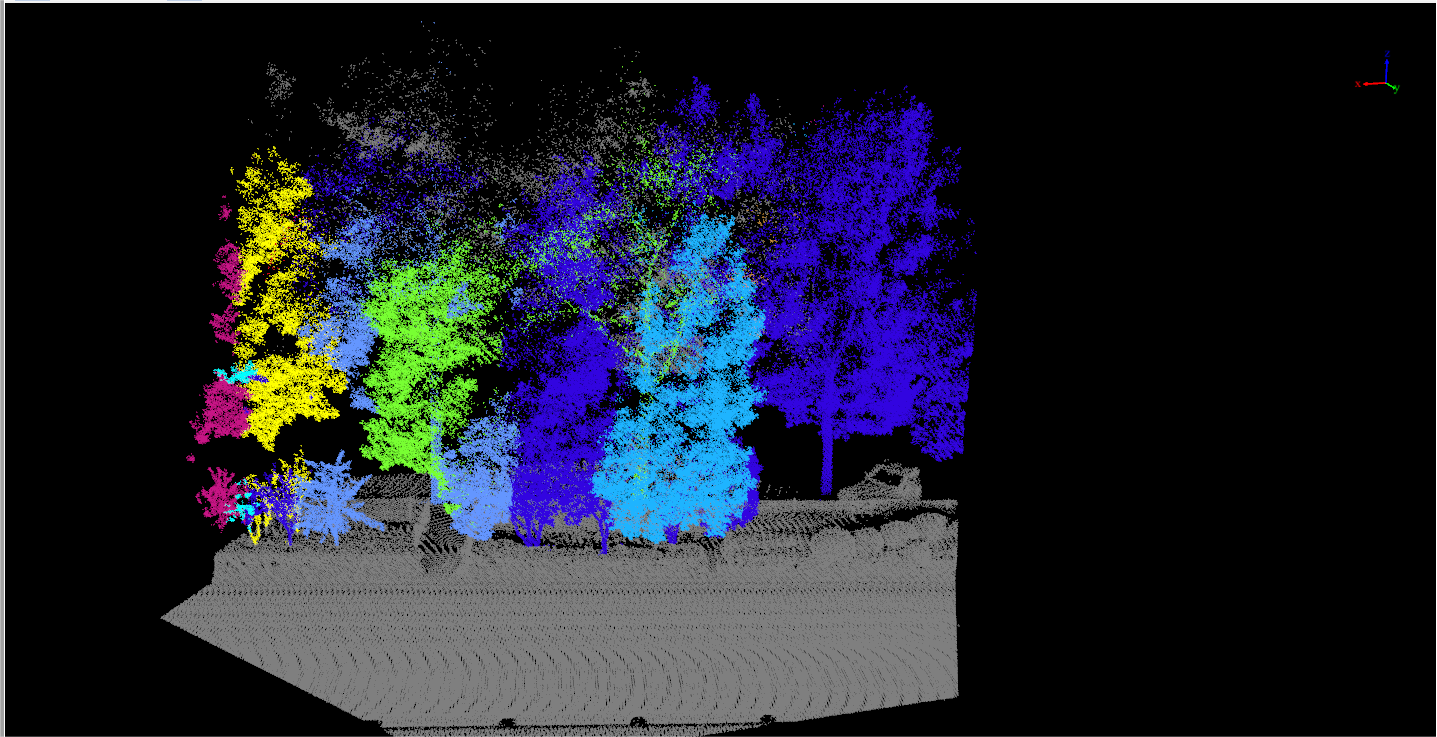
After Merge by Pick
13.Merge by Polygon: Click Merge by Polygon , select a group of points, and then click an individual-tree point or a non-tree point. The selected points are assigned the Object ID of the clicked object. Use this operation for detailed tree point correction or deleting selected tree points.
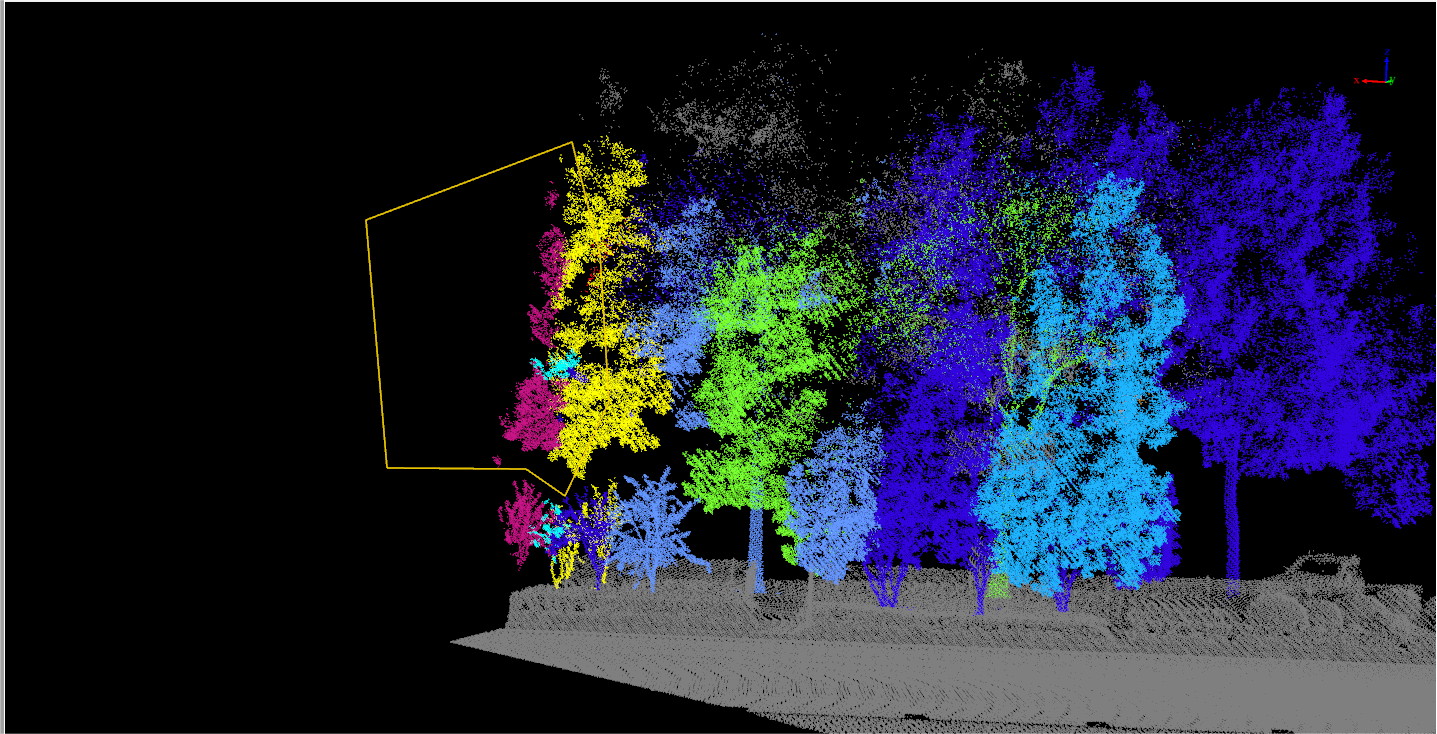
Before Merge by Polygon
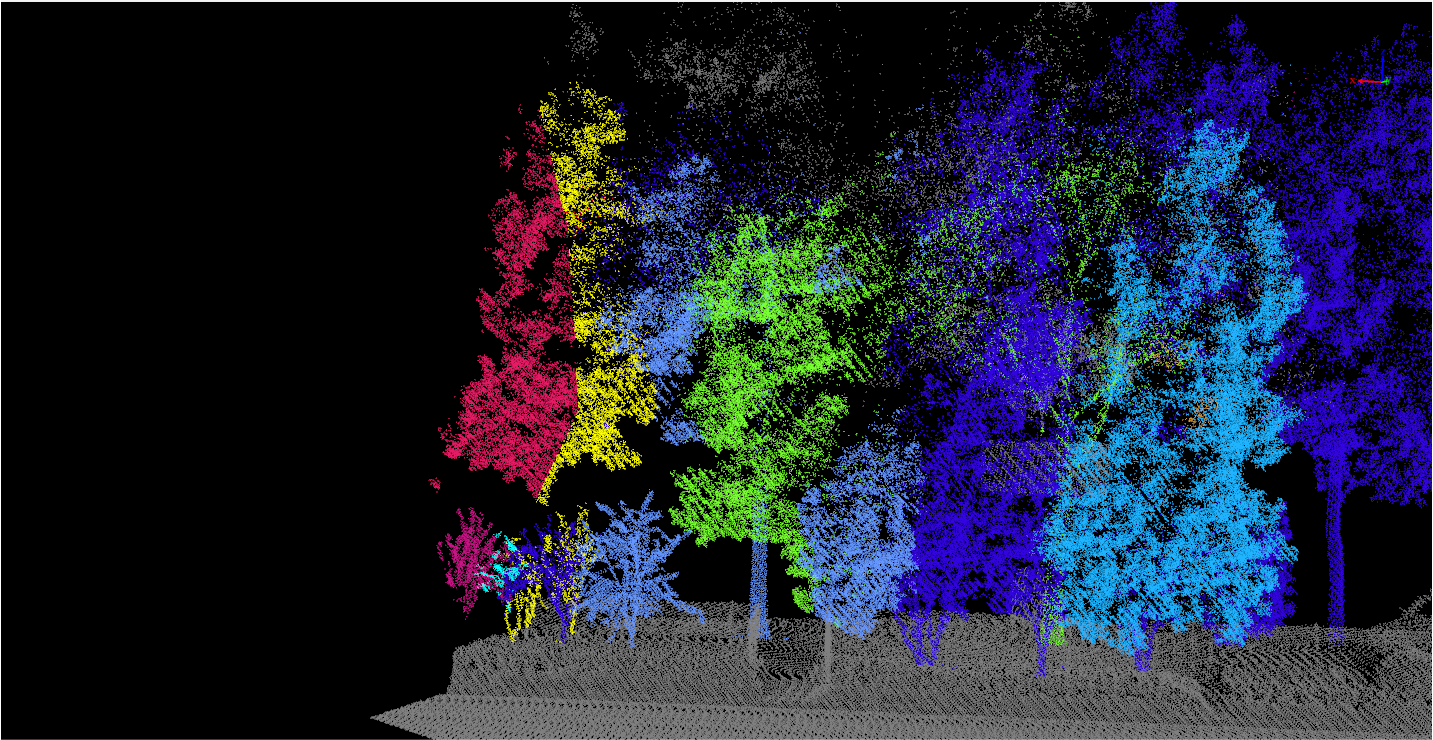
After Merge by Polygon
14.Undo: Click Undo to restore the previous state. The shortcut is Ctrl+Z.
15.Redo: Click Redo to restore the next state. The shortcut is Ctrl+Y.
16.Save: Click Save to save edits to the file and refresh the result in the left 3D view. The shortcut is Ctrl+Shift+S.