AI Assistant
Steps
- After launching the software, a floating AI icon
 appears in the upper-right corner.
 - If no account is currently logged in, hovering over the icon displays the prompt "Click to log in." Click it to open the account login dialog, enter your Username and Password, and click Sign In.
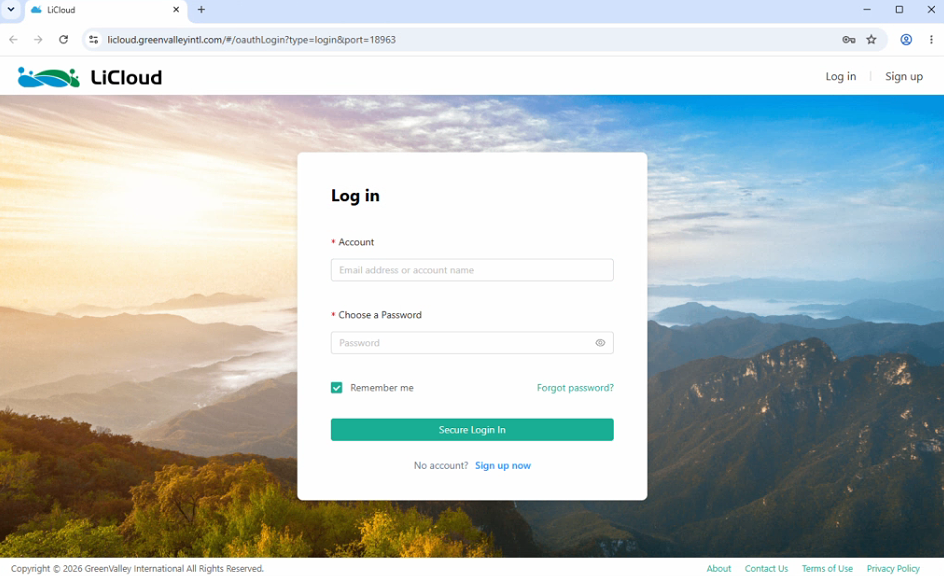
- After signing in, open AI Assistant to access the chat page. When AI Assistant starts, it connects to the Agent service. After the connection is established, you can start using it.
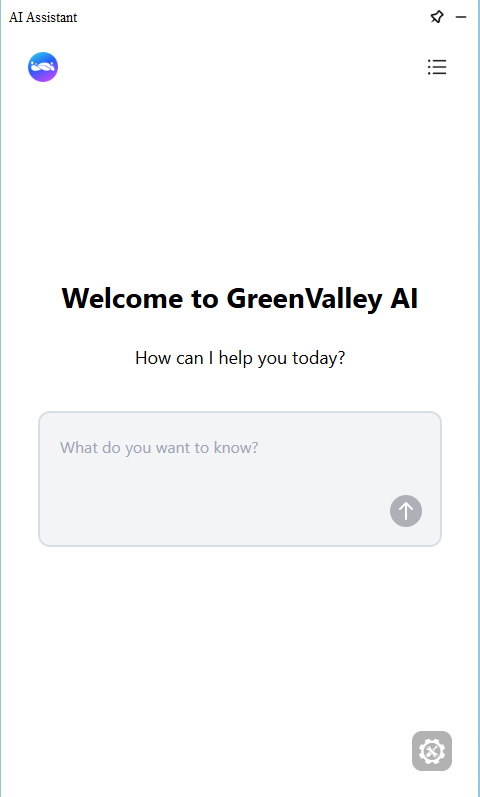
A mode selector is available at the bottom of the chat page. Ask and Build modes are currently supported.
Ask: Text Q&A mode. Use it to ask about software features, operating procedures, or parameter meanings. It does not execute software operations.
Build: Agent mode. Use it to assign tasks. AI Assistant can plan steps, call tools, check data, and guide users through or execute complex workflows in the current project.
In Build mode, describe the task you want to complete in the input box, such as subsampling the point cloud in the current project, extracting points by elevation, or creating layers. AI Assistant displays its reasoning process, tool call progress, and execution results.
Note: Build mode may directly modify the current project, such as creating layers, processing data, or saving results. Critical operations, such as deleting layers or data, require an additional confirmation. Carefully check the target objects and potential impact before confirming.
Tip: For long-running tasks, clicking the cancel button in the chat window only cancels Agent execution. It does not automatically cancel the task currently running in the background. To cancel the background task, click the cancel button on the right side of the progress bar in the status bar at the bottom of the software window.
An expand/collapse button is available on the far left of the chat page. Click it to show or hide conversation history so you can review previous chats at any time.