Import TXT
Steps
1.Click the Import![]() button, a dropdown will appear, select the TXT option.
button, a dropdown will appear, select the TXT option.
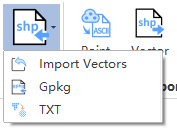
2.Fill in the corresponding parameters.

Parameter Description
- External File: After selecting the external CSV/TXT file, import it by setting the columns where XYZ are located.
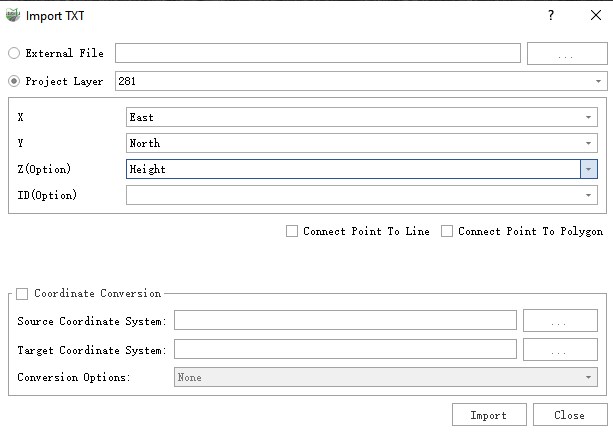
- Current Project: Select an existing table in the project file and set the columns where XYZ are located to import.
- Point to Line: When this option is checked, the imported points will be connected into lines in sequence according to the specified ID column with the same ID.
Note: Points with the same ID ≥ 2 will be connected into lines. Points that do not meet this requirement will be filtered out by default.
- Point to Surface: When this option is checked, the imported points will be connected into surfaces in sequence according to the specified ID column with the same ID.
Note: Points with the same ID ≥ 3 will be connected into surfaces. Points that do not meet this requirement will be filtered out by default.
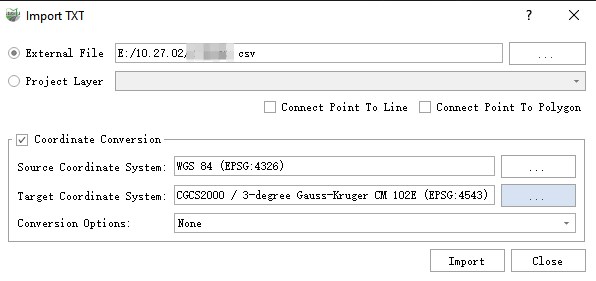
- Coordinate Transformation (optional): If coordinate transformation is checked, you can select the coordinate system of the current file and the target coordinate system to transform the current added shp format vector into the target coordinate system and add it to the software.
Example
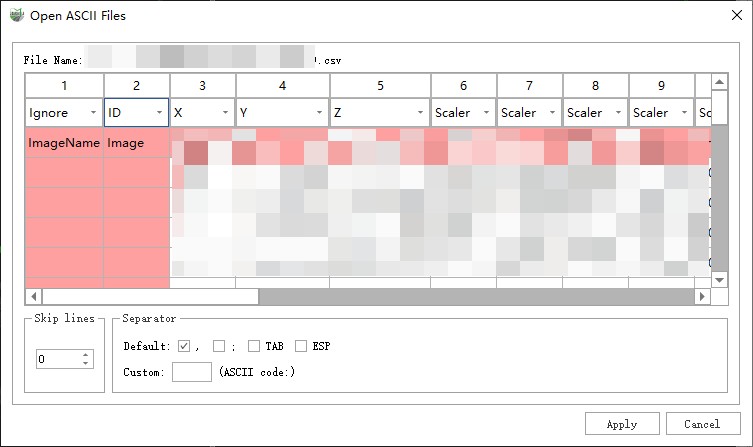
1.Select an external CSV/TXT file, and the "Open ASCII File" dialog box will pop up. By default, the first row in the table will be automatically taken as the header. Among them, X and Y columns must be specified. If Z is not specified, the elevation of the imported data will be 0. You can specify XYZ in the form of large coordinates or latitude and longitude as XYZ. Only when point-to-line/surface conversion is required, the ID identification column must be specified. The remaining columns can be ignored or set as Scale by default. Only when set as Scale, the contents of the other columns will be displayed in the attribute table after import. The number of rows to skip and the delimiter can be set according to the content of the file.And you can select different encodings to display the corresponding file content.
Note: If latitude and longitude are specified as XYZ, coordinate transformation must be performed. As shown in the example, the source coordinate system is WGS84 (EPSG:4326), and the target coordinate system is the current project's coordinate system CGCS2000 / 3-degree Gauss-Kruger CM 102E (EPSG:4543). Only after setting correctly can the imported points be overlaid and displayed with the point cloud.
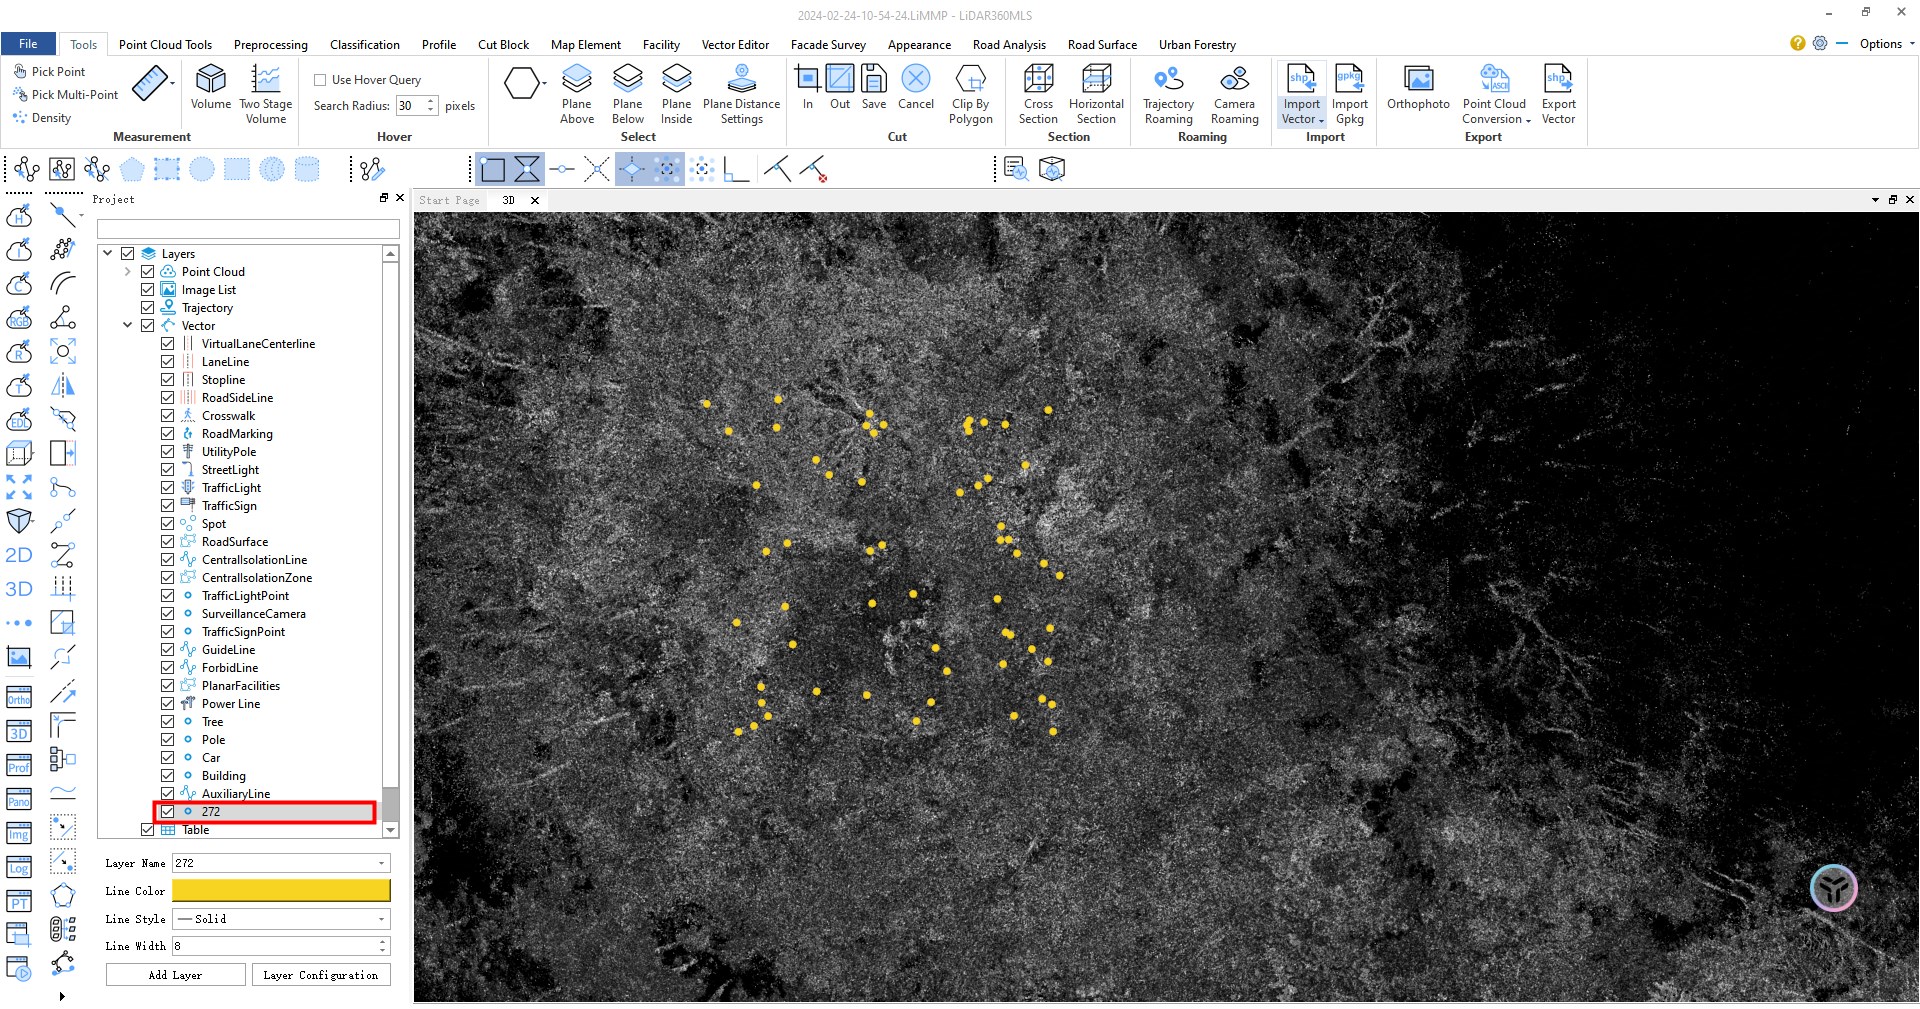
The imported data is shown below. Without geometric transformation, it will be imported as a point layer, and the layer name will use the file name.
2.Import from an existing table in the project: Select the current project option, and select a table already imported in the project from the dropdown list. The software will automatically parse the header. Under the XYZ options below, select the columns corresponding to XYZ. Other settings are the same as Step 2.