Create Levels
Steps
- Click the Create Levels button
 in the BIM section.
This will automatically activate the cross-section function and dock the Level Management window on the left side of the software, as shown below:
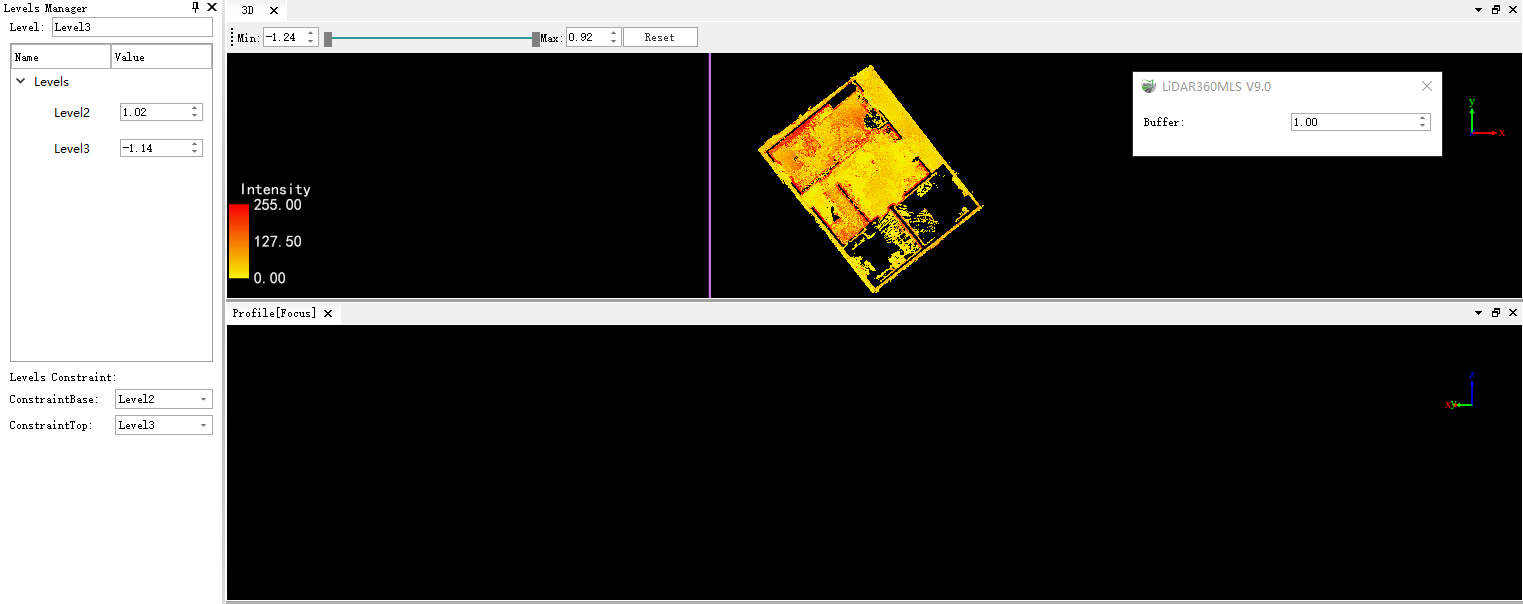
- Select a location to create a cross-section, as shown in the figure below:
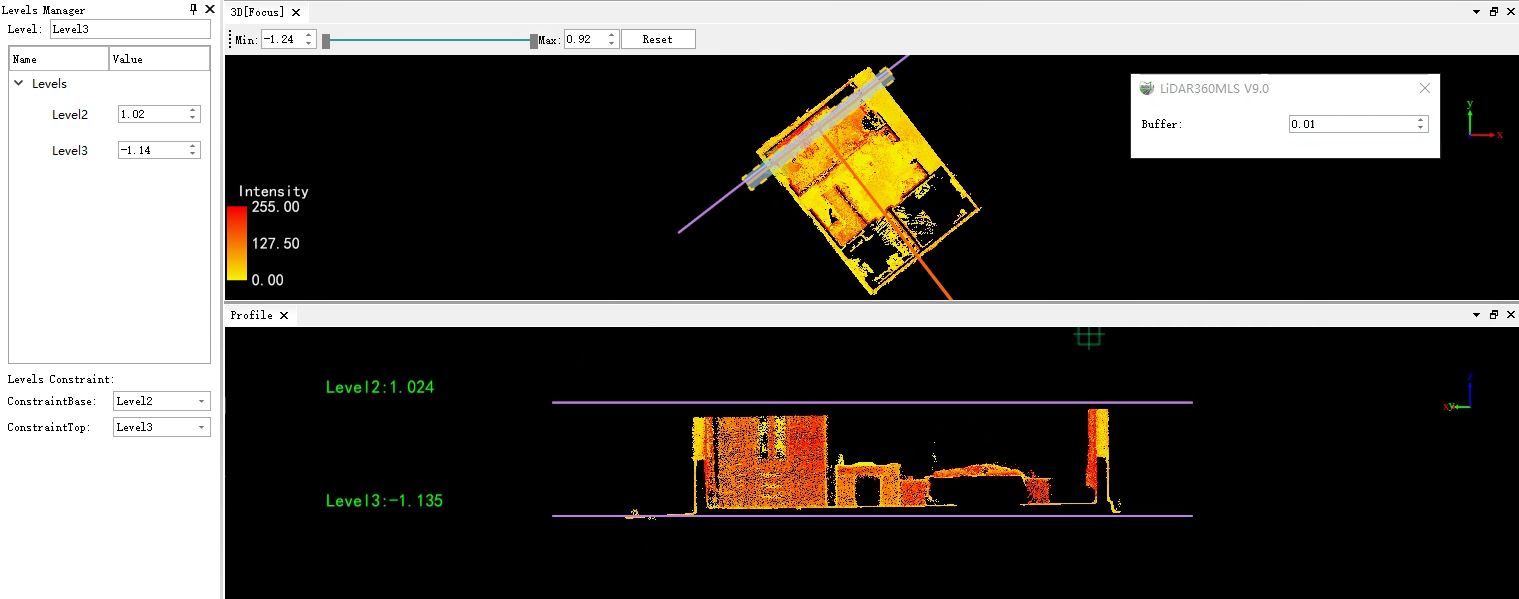
During actual operation, you can create multiple cross-sections by selecting positions with clear point cloud or Gaussian data between floors to create level cross-sections. After a level is successfully created, a vector line representing the current level will be generated in the view. Meanwhile, both the Level Management interface and the level display interface will update the level information in real time.
If the created level is not accurate enough, you can modify it by setting the level value in the Level Management interface. The level in the view will synchronize with these changes. Alternatively, you can directly drag the level vector in the view, and the value in the Level Management interface will update accordingly.
Additionally, you can right-click in the Level Management interface to delete the current level. Any addition, deletion, or modification of levels in MLS will be synchronized to the Revit software, as shown below:
