Raster To Contour
Note: "Raster" here refers specifically to elevation
.tiffiles generated by the Point Cloud to DE(S)M or TIN to DE(S)M functions.
Steps
- Click the Raster To Contour
 button.
 - The Raster To Contour dialog box appears. Select the input raster, then configure the tiling method and related parameters according to how the output will be organized.
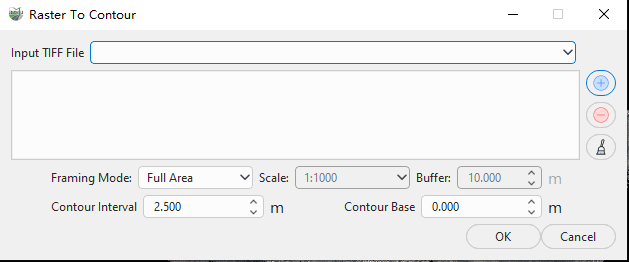
Whole Area Parameters
Parameter Description:
Input Tiff File: The input DEM file in
.tifformat. You can select already-loaded Tiff data via the dropdown menu.- Click (+) to load a Tiff file.
- Click (−) to delete a loaded file.
- Clear all loaded files.
Framing Mode: Specifies how the contour output is organized. Two modes are available:
- Full Area: Generates one continuous and complete contour output covering the full extent of the input raster.
- By Scale: Divides the processing extent according to the map sheet rules associated with the specified scale and generates contour output for each map sheet.
When By Scale is selected, the dialog box displays the scale and buffer parameters.
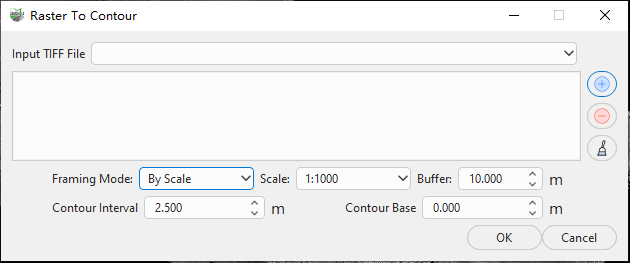
By Scale Parameters
Scale: Sets the target scale used to divide the output into map sheets. Available options are 1:500, 1:1000, 1:2000, and 1:5000. This parameter is available only when By Scale is selected.
Buffer(m): Sets the buffer distance used for scale-based tiling, in meters. This parameter is available only when By Scale is selected.
- Contour Interval(m) (default "10"): Elevation difference between adjacent contours.
- Contour Base (default "0"): Starting elevation for generating contours. Contours will be created at elevations differing from the base by integer multiples of the interval. Example: If base = 0 and interval = 10, contour elevations will be 0, −10, −20, −30… and 10, 20, 30…
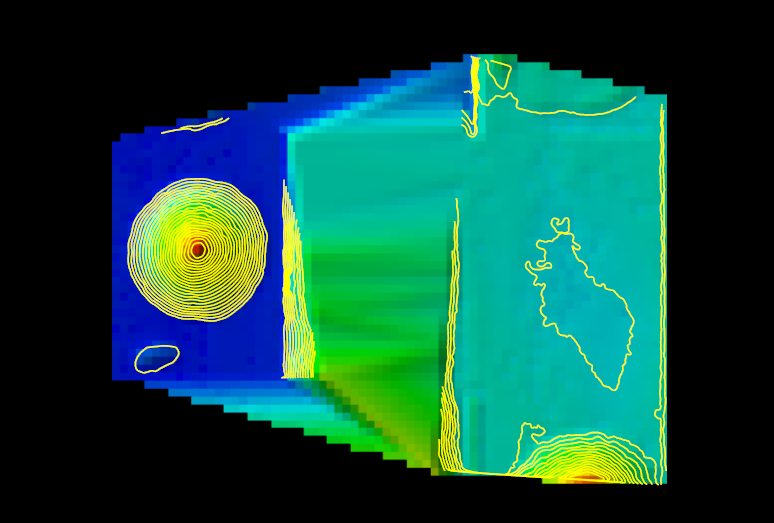
Result