Ribbon Toolbar
Processing Modes
LiDAR360MLS V10 provides two processing modes. Click Pro or Basic on the Ribbon Toolbar to switch modes. The available mode depends on the current module.
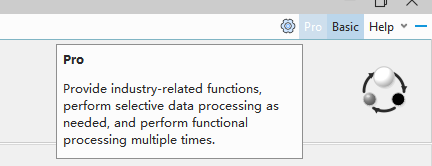
Pro
Pro mode provides industry-related functions and allows users to select tools and process data as needed. Individual functions can be run independently and repeatedly, making this mode suitable for professional workflows, parameter adjustment, result optimization, and troubleshooting.
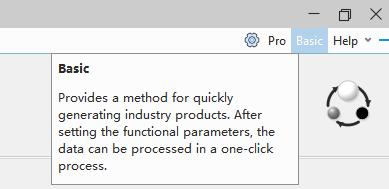
Basic
Basic mode provides a quick workflow for common industry products. After setting the workflow parameters, click Run to process the selected steps together. This mode is suitable for standardized processing and users who want to complete a workflow without configuring every standalone function.
Switch Theme
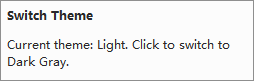
The Switch Theme button is fixed in the blank area on the right side of the Ribbon Page, so it remains available when switching between different tabs and modules. Click the button to cycle through the following interface themes:
- Light
- Dark Gray
- Black

The button contains three spheres. The color of the sphere at the top indicates the theme currently in use. Hover over the button to display the current theme and the theme that will be applied after the next click.
Help Menu
In V10, several auxiliary commands that were displayed separately in V9 are consolidated under Help. Click Help on the Ribbon Toolbar to access the following commands:
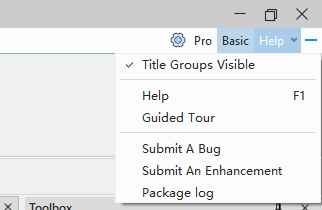
- Title Groups Visible: Shows or hides the group titles on the Ribbon Toolbar. A check mark indicates that group titles are visible.
- Help (F1): Opens the LiDAR360MLS user manual. Press F1 to open Help directly.
- Guided Tour: Opens the product tour and introduces the main interface and basic operations.
- Submit A Bug: Opens the bug submission page. Describe the issue, reproduction steps, and relevant environment information. Attach screenshots or other files when necessary to help technical support reproduce the problem.
- Submit An Enhancement: Opens the enhancement submission page. Describe the business scenario, expected behavior, and proposed improvement. Attach supporting files when necessary.
- Package Log: Collects system logs, error records, and other diagnostic data, and packages them into a
.zipfile for troubleshooting. Send the package to technical support when requested.
Other software settings are configured through File → Options. Scene display settings are described in Display Options.