Fusion Reconstruction
Steps
1. Select the Project to Be Reconstructed
Click Reconstruction Page → Fusion to start the reconstruction process. Since Gaussian reconstruction consumes significant system resources, if a project is currently loaded in the software, the system will prompt you to close the current project to release resources.
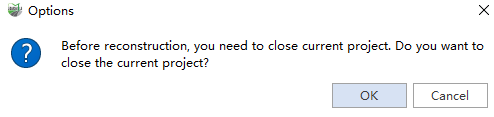
Click OK. In the file selection window that appears, select the completed .liscan file as the ground data input.
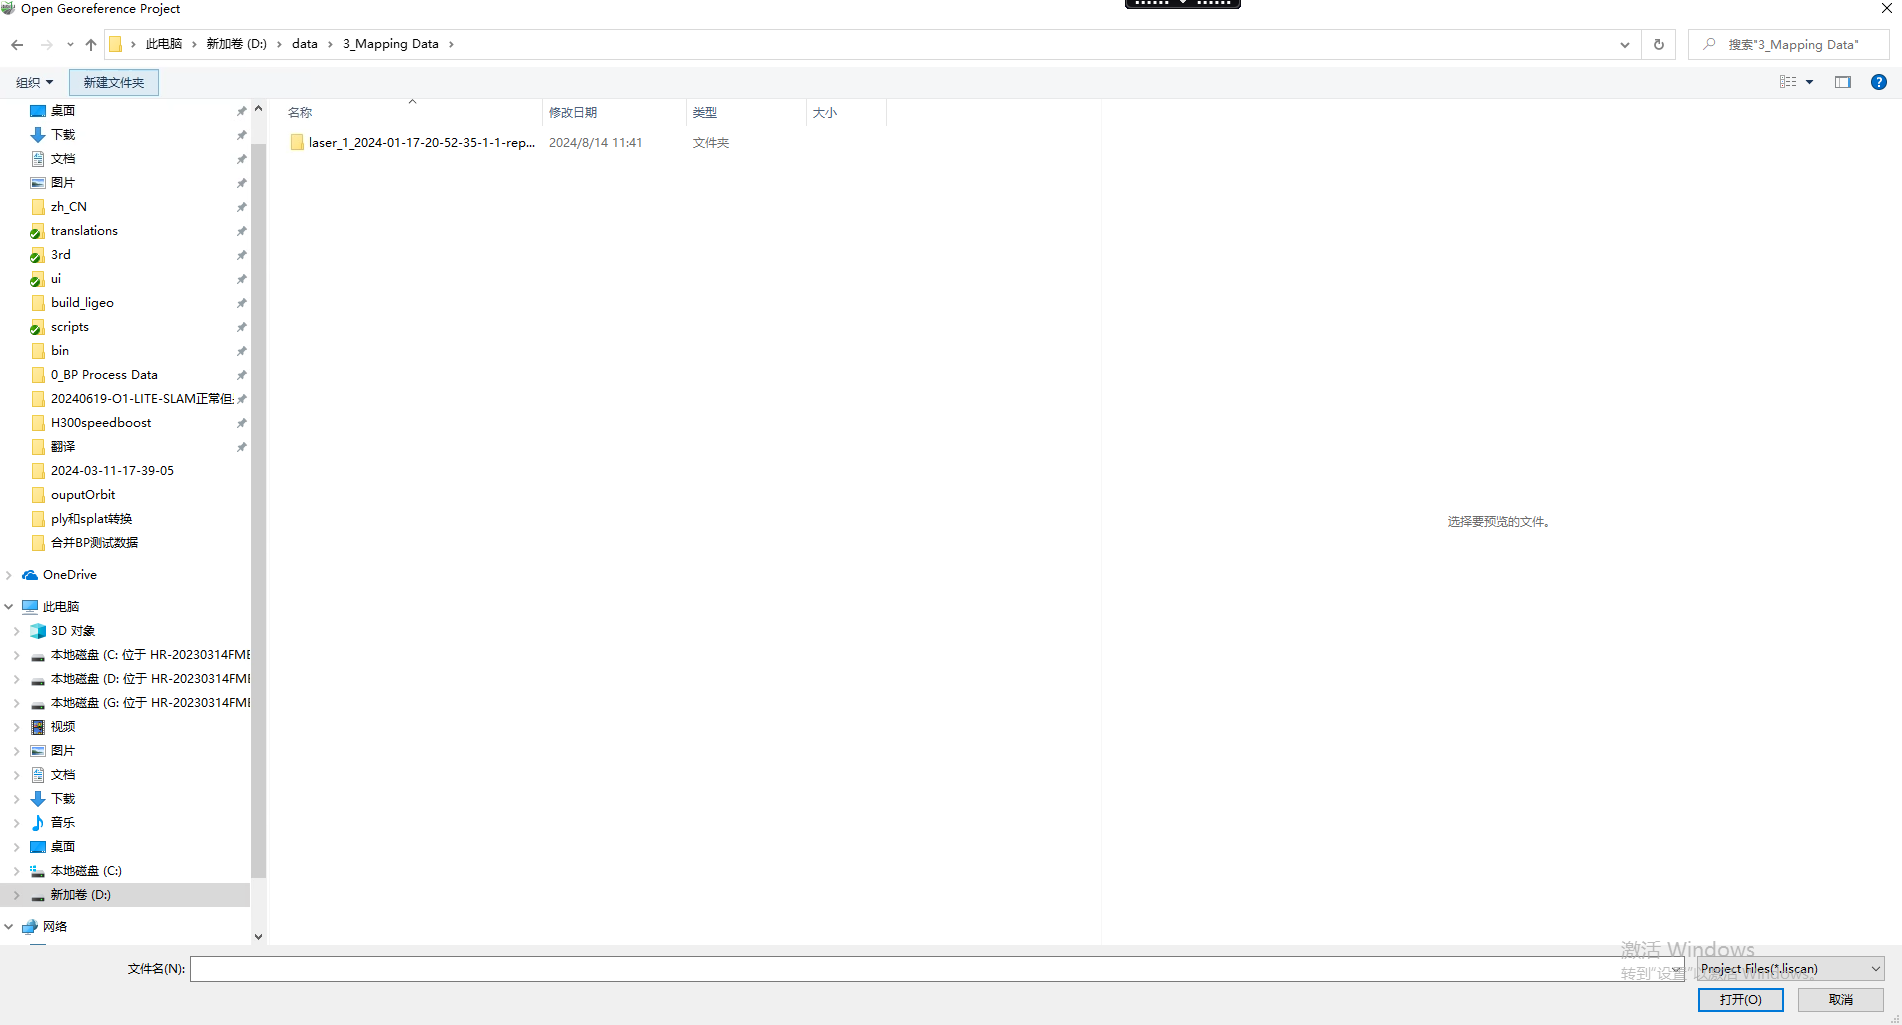
Note:
The software currently supports Gaussian reconstruction only for data collected using O1_Lite, H300, H300 (B00), O2_Lite, O2, LiAirX4, and LiAirX4Plus devices.
The selected project must have completed point cloud processing and colorization, and the resulting point cloud must contain RGB attributes.
Before performing Gaussian reconstruction, make sure Dynamic Object Removal, Smooth Filtering, and Automatic Masking are enabled during processing. If moving objects are still present in the processed point cloud, manually classify the moving objects in the processing project.
2. Import UAV Data
After selecting the ground data, import the imagery captured by the UAV as the aerial data source.
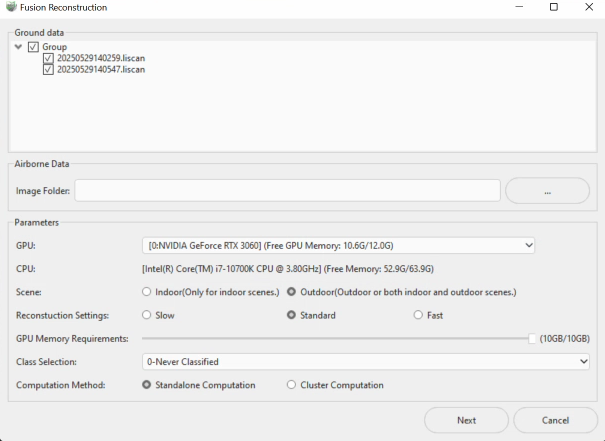
- Ground Data: Displays the list of selected ground
.liscanfiles. You can select the projects to be included in the reconstruction. - Airborne Data: Click the browse button next to Image Folder and select the folder containing the UAV aerial images. The software will recursively scan the folder for image files.
Note: All image files in the selected image folder must have the same resolution.
3. Parameter Settings
After the data has been imported, users can configure the reconstruction parameters in this interface to optimize Gaussian reconstruction quality and processing speed.
Parameter Settings
- GPU: Specifies the GPU used for Gaussian reconstruction. Currently, only single-GPU computation is supported. The GPU model, current VRAM usage, and total VRAM can also be viewed.
- CPU: Displays the current CPU model, current memory usage, and total memory, allowing users to understand the available system resources.
- Scene: Select an appropriate reconstruction mode based on the application scenario to optimize model accuracy and resource utilization. The main modes include:
- Indoor (Indoor Scenes Only): Suitable for reconstructing point cloud data from indoor environments such as building interiors, confined spaces, or enclosed areas.
- Outdoor (Outdoor or Indoor/Outdoor Scenes): Suitable for reconstructing point cloud data from outdoor environments such as urban areas, large-scale terrain, open spaces, or mixed indoor/outdoor scenes.
- Reconstruction Settings: Select the reconstruction efficiency mode to balance reconstruction speed and model quality. The slower the processing speed selected, the higher the image quality, the greater the amount of image data used, and the longer the required processing time.
- GPU Memory Requirements: Specifies the remaining GPU memory required for the next reconstruction.
- Class Selection: Select specific class of point clouds for reconstruction.
4. Start Reconstruction
Click Next → Start to launch the reconstruction process. Before starting, the system checks the currently available VRAM and system memory.
If sufficient system resources are available, the reconstruction process starts automatically. The log window and progress bar display the current processing step and overall progress simultaneously.
Click Open Log Folder to view all Gaussian reconstruction logs associated with the current project. This allows users to track and analyze detailed information from each reconstruction process.
Click Package Logs to package all Gaussian reconstruction logs from the current project into a ZIP file.
Click Stop to interrupt the current reconstruction process.
After reconstruction is successfully completed, the system displays a dialog asking whether to view the reconstruction result immediately. Click Yes to directly open the generated reconstruction model for browsing and validation.
Note: During reconstruction, generated point cloud tile files and log files are automatically saved in the current project's Temp and Log directories. For example,
0_1.plyandReconstruction_2024-10-21-13-50-03_LiDAR360MLS.logare saved as the point cloud tile file and inference log, respectively.