Create Windows
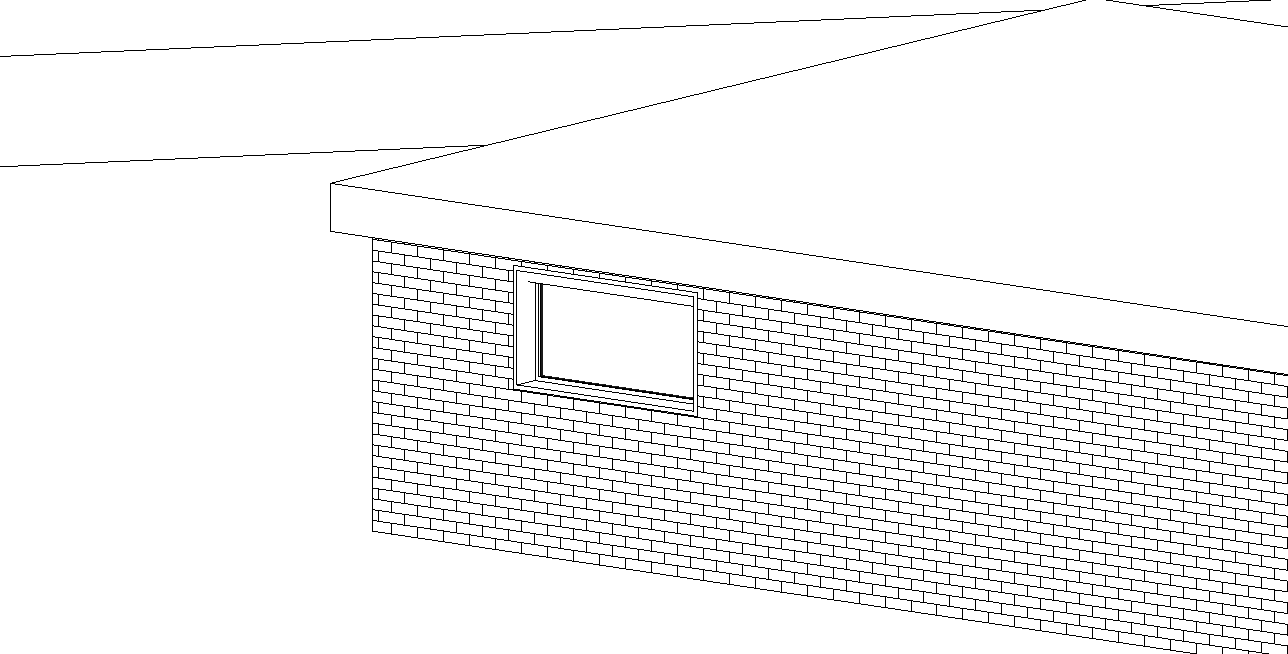
Function Description: Create Revit window elements.
Steps
- First, click the Select Line for Profile button
 in the BIM section. Click on the wall vector where the window will be created to generate a profile section, as shown:
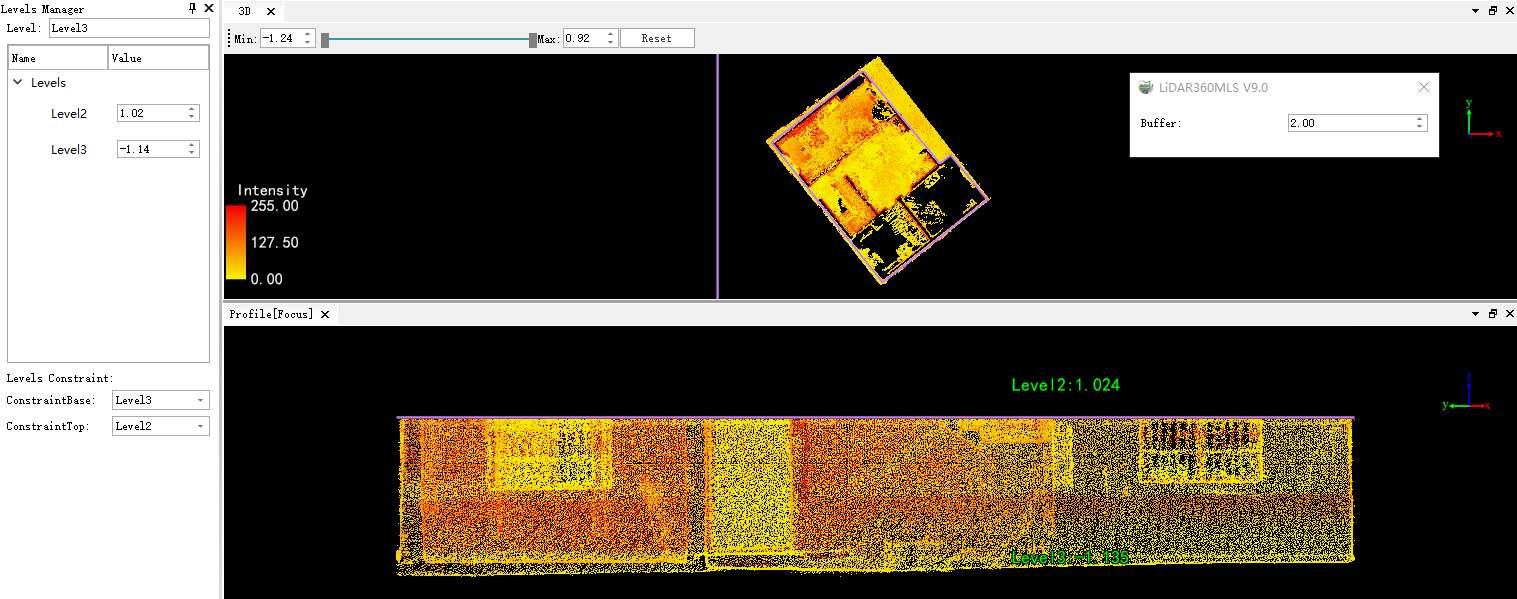
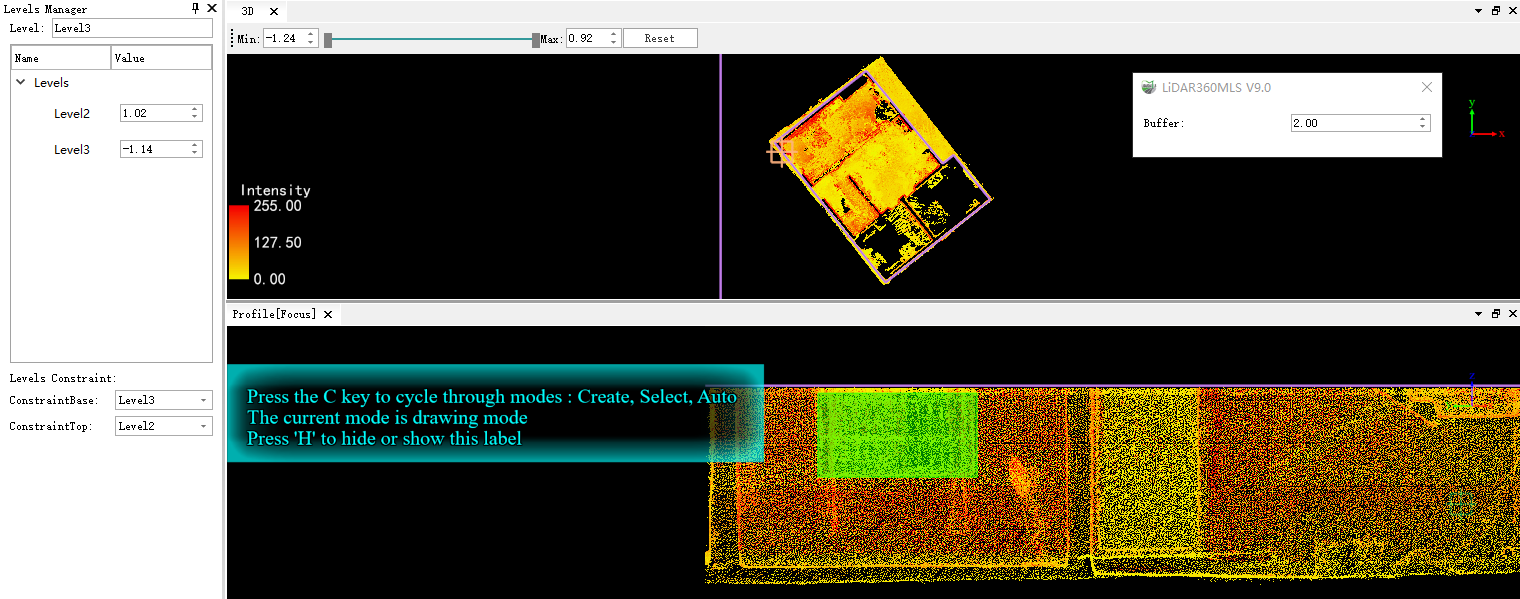
Ensure there is an existing wall object at the window location before creation. Window creation also supports selection mode.
Array
Function Description: Create multiple Revit window elements.
Steps
- Click the Array button
 in the BIM section. The interaction mode is consistent with the array function in elevation views. For detailed instructions, please refer to the Array Arrayfunction in the elevation section. Double-click to create multiple window objects.
Create Doors
Function Description: Create Revit door elements.
Steps
- Click the Create Door button
 in the BIM section. The interaction mode is the same as for creating windows. Pay attention to select the bottom elevation constraint. Supports creation via selection mode.