Device Parameter Configuration
1. Modify Computer Name
Note: This operation is optional, not mandatory. Setting a clear and easily recognizable name for the computer helps quickly distinguish and manage each computing node in the distributed master node, improving efficiency and reducing the risk of misoperation.
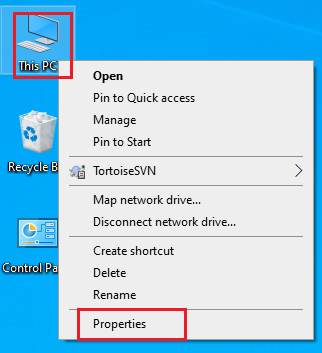
1.1 On the desktop or in Windows Explorer, right-click This PC and select Properties
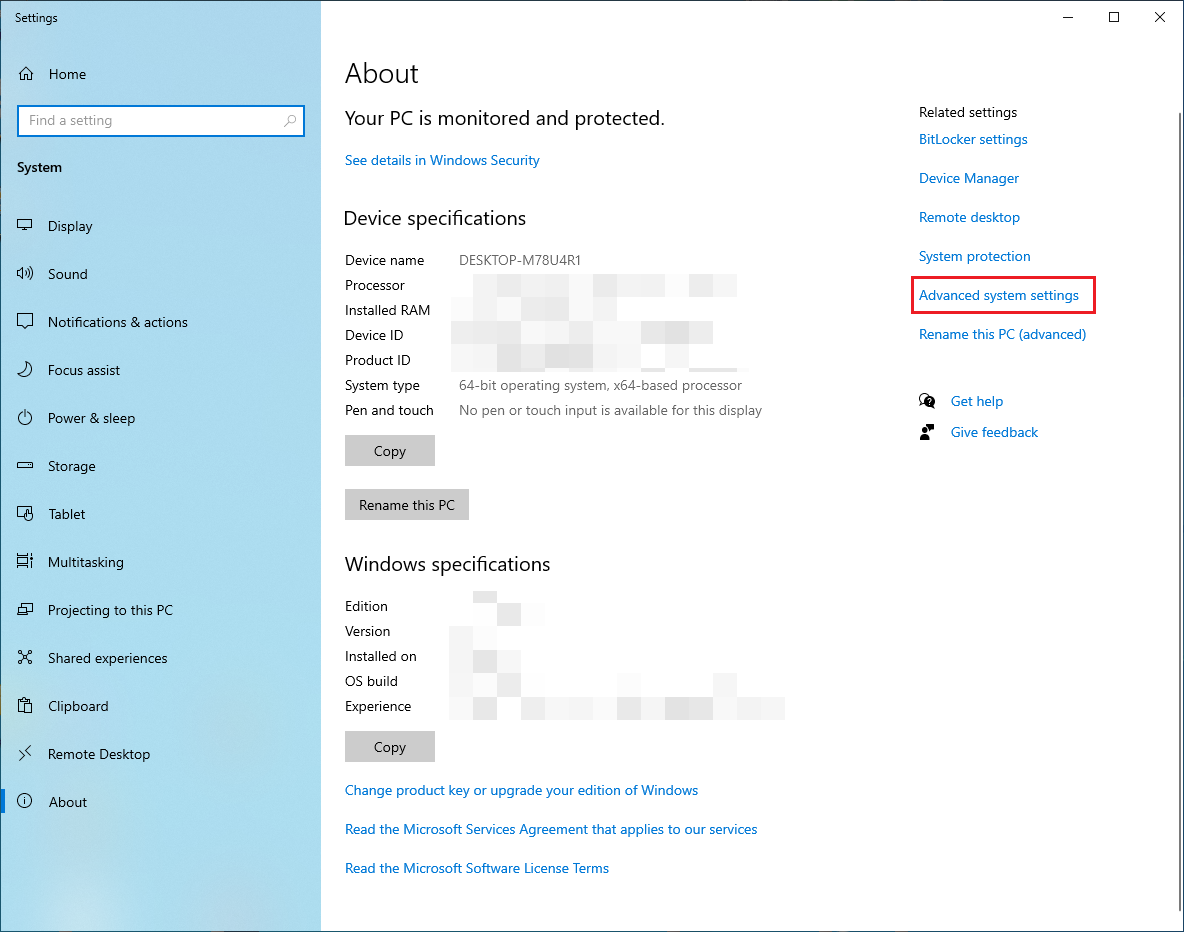
1.2 Click Advanced system settings (the location may vary depending on the operating system version)
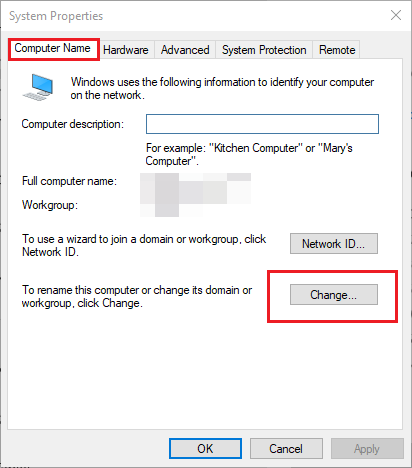
1.3 Select the Computer Name tab and click Change
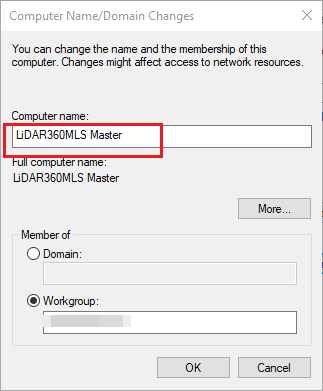
1.4 Modify the computer name
2. LAN IP Configuration
The purpose of configuring the LAN IP is to ensure that the master node, engines, disk array, or data server are on the same subnet, thereby enabling data transmission and cluster computing. If all participating devices are already on the same subnet, this step can be skipped.
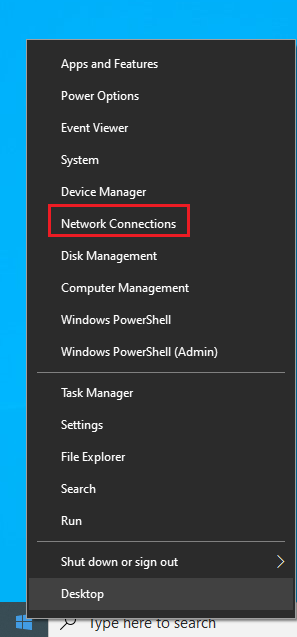
2.1 Network and Internet Settings
Right-click the Start menu, select Network Connections, and open the Network and Internet settings page.
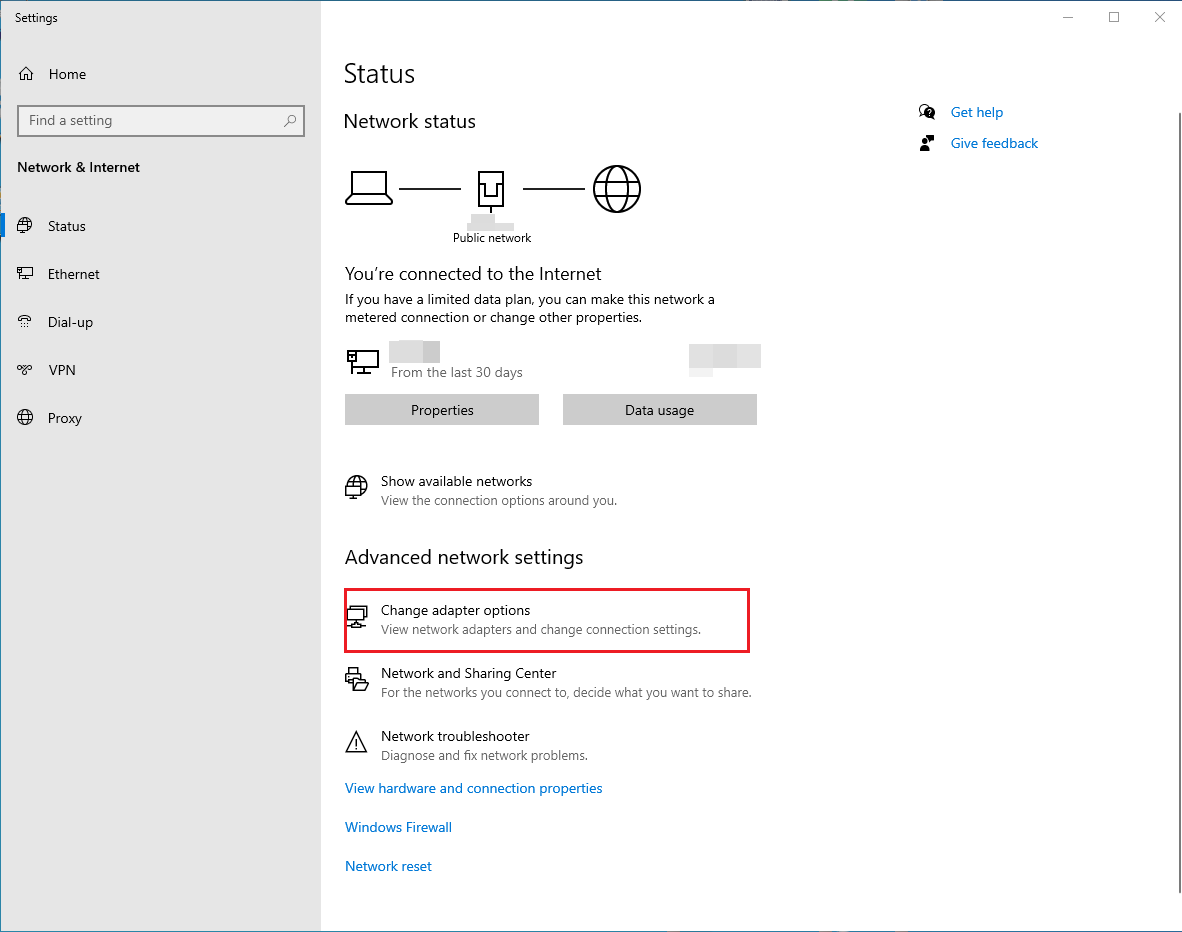
Click Change adapter options (there are multiple ways to open this page, and the interface style may vary across different operating systems).
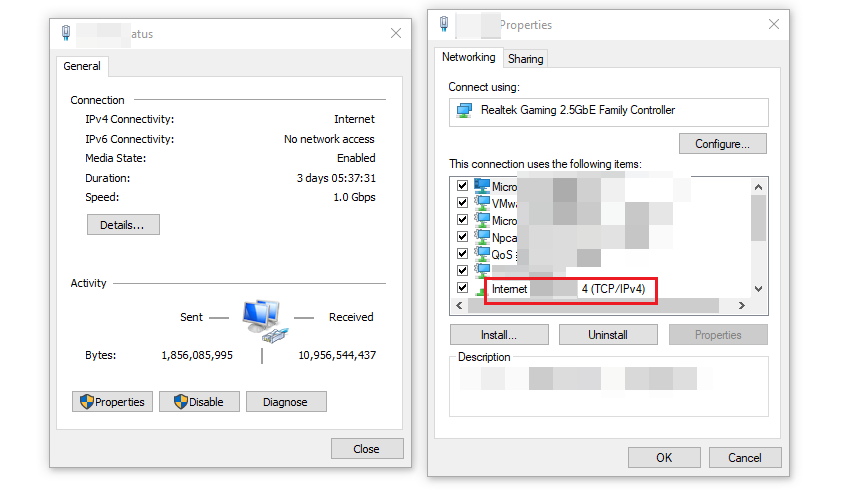
Double-click the connected network device.

Select Properties, then select Internet Protocol Version 4 (TCP/IPv4).
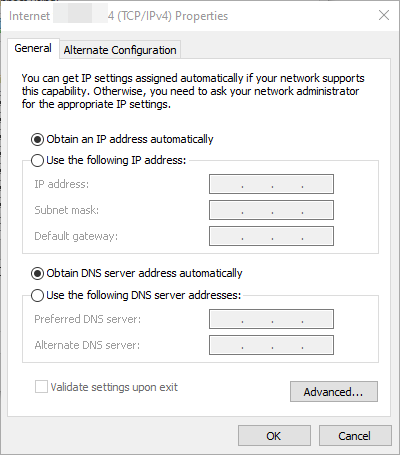
Select "Use the following IP address" and modify the IP address.
IP Address Modification Suggestions:
Ensure that the master node device, disk array or data server, and multiple computing engines are within the same subnet,
for example: 192.168.x.x, such as 192.168.1.x.
It is recommended to assign IPs according to device numbers for easier maintenance later:
- Sub-node 1 → 192.168.1.1
- Sub-node 2 → 192.168.1.2
- Sub-node n → 192.168.1.n (n ranges from 1 to 255)
This allows for quick device identification during cluster deployment and troubleshooting.
3. Set Up Shared Folder
Set the folder storing data in the disk array or data server as shared to ensure each computing engine can properly read or write the required data.
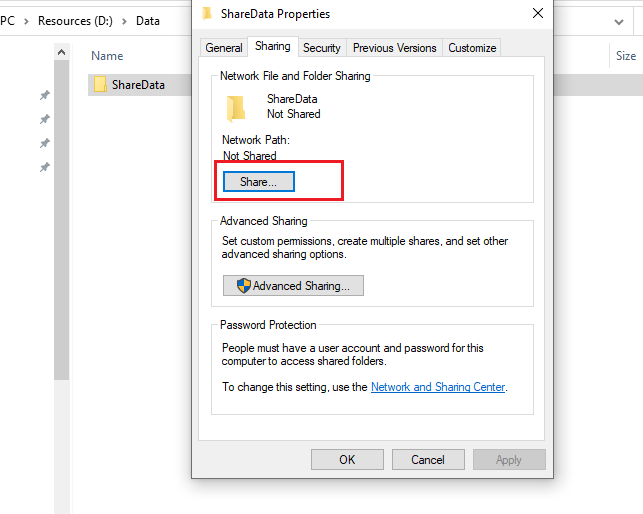
Right-click the folder, select Properties, go to the Sharing tab, and click Share.
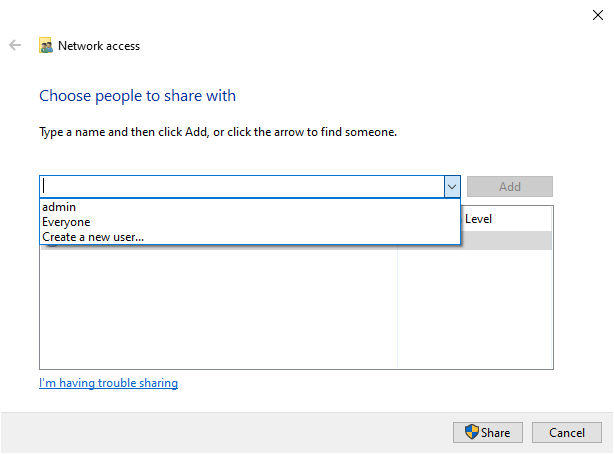
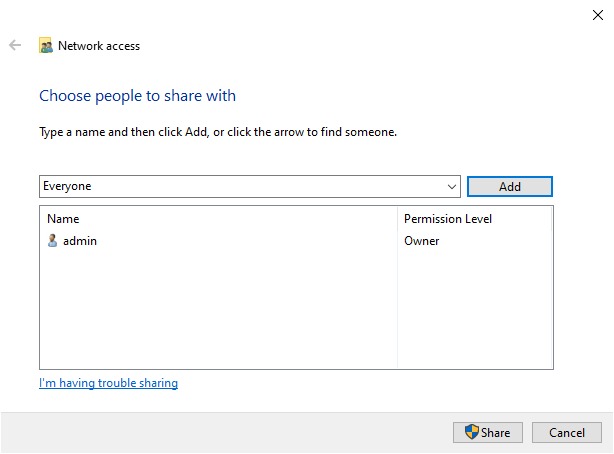
Select Everyone (if you need to set permissions for specific users, select designated users to configure permissions individually).
Click Share to complete the setup.
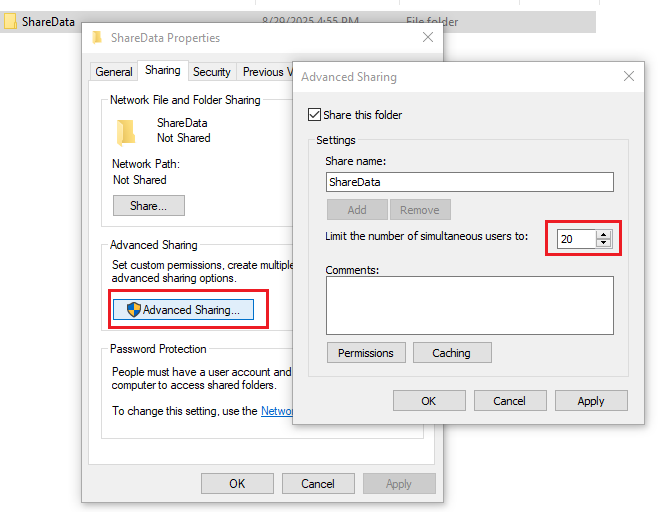
Click Advanced Sharing in Step 1, and set the user limit. If the number shown here is too small, it may prevent multiple computing engines from accessing the shared data folder simultaneously, resulting in task failure.
Notes
- When selecting the data folder, do not use local disk drive letters to build the data path, otherwise other devices cannot recognize the local drive of the current device;
- To improve data read/write efficiency, try not to set the data shared directory and the local temporary directory to the same path;
- For large amounts of data, it is recommended to prioritize SSDs as the primary data storage and temporary storage devices to improve read/write performance and overall system responsiveness.