Vector Context Menu
Functional Overview
The right-click menu of vector data in the layer management tree mainly includes import and removal of vector data, as well as information display for a single vector data, opening the attribute sheet, scaling to layers, display by elevation, display by selected color, and remove.
Data Type Context Menu
Input Data: Import data format of vector data should be .gpkg, .shp, .dxf, or .kml format. This function is basically the same with the function
 , see Add Data. Import LiDAR360 from contour generated by point cloud as shown in the figure: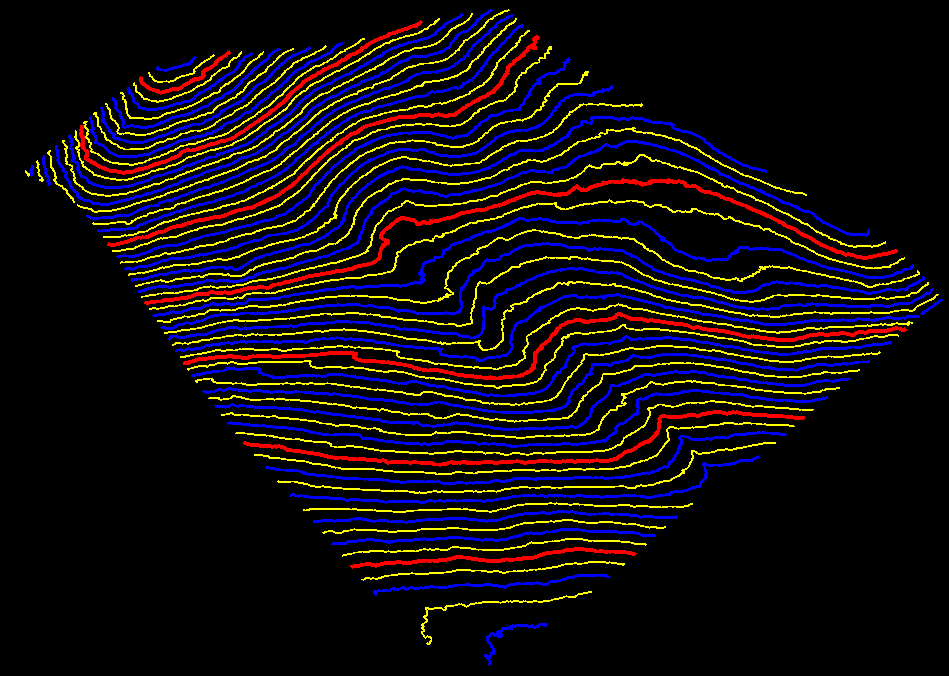
Unit Conversion: When importing DXF format files, unit conversion is supported. The current unit (unit recorded in the file) can be converted to the target unit for import.
Remove All: Remove all vector data from the software.
Data Context Menu
- Info: View the basic information of vector file, including file path, elements count and bounding box.
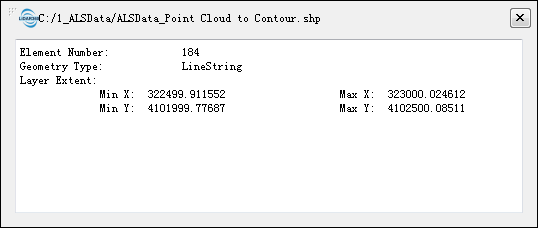
Open Containing Folder:Open the folder.
Rename: Rename the file.
Open Attribute Table: This function displays the attribute table information of vector data, and supports adding, deleting, viewing, modifying attribute values, attribute calculation, import, export, inverse selection, deletion, freeze panes, and other operations. The result is shown as follows:
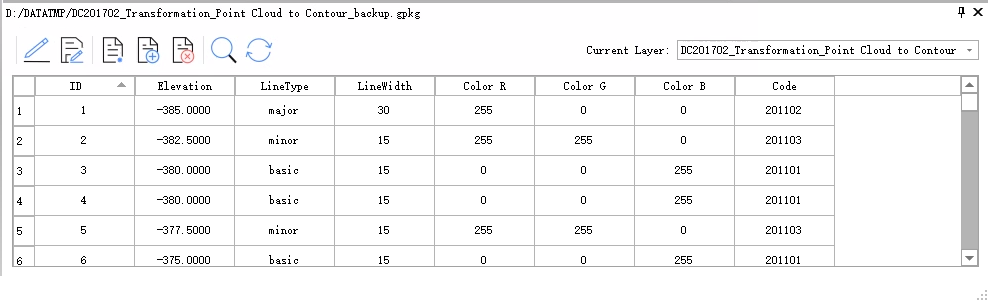
- Single-click the row or the cell in the attribute table, the corresponding data will be highlighted as shown in the following picture.
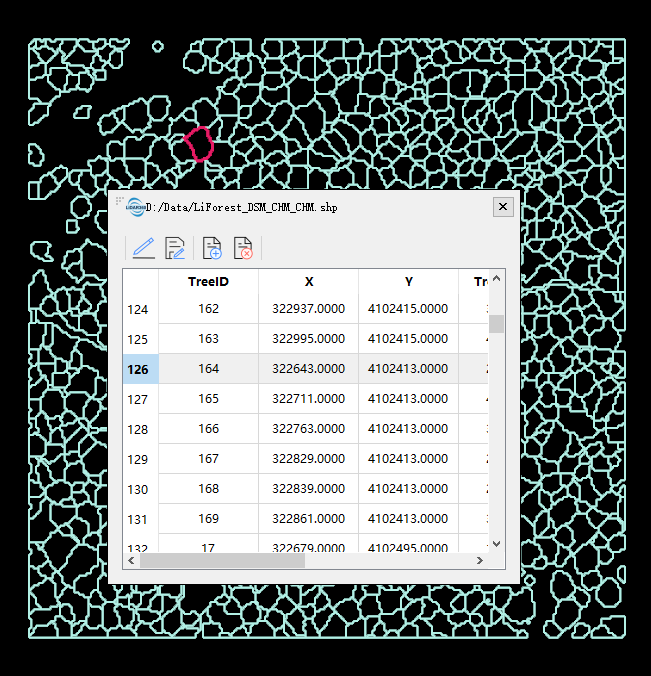
- Double-click the header of a row in the attribute table, and the view will locate the location of the double-clicked data.
- After editing is enabled, select multiple attribute value entries and right-click to perform batch editing. Editing is available only when the selected attribute fields have the same or compatible types; otherwise, the Batch Edit menu is unavailable.
- Freeze panes. When scrolling data with the scroll bar, only the unfrozen area scrolls.
- Freeze by selected cell. Select a cell in the table to freeze the columns to the left of the cell and the rows above it.
- Freeze rows. Select the row number to freeze that row and all rows above it.
- Freeze columns. Select the header field name of the column to freeze that column and all columns to its left.
- Hide columns.
- Mouse dragging. Move the pointer to the boundary of a header cell until the corresponding pointer state is displayed, and then drag left or right. Dragging left reduces the column width. When it exceeds a threshold, the column is hidden; cascading hide by continued dragging is supported. A blank gap is displayed at the position of hidden columns, and dragging right expands the hidden columns.
- Context menu. Right-click a specified header to open the menu and hide the column. You can also open the settings for all columns and modify which columns are shown or hidden.
- Adjust column width. In addition to dragging the header manually, right-click in the header area to accurately adjust the column width for a single column or for all columns.
- Single-click the row or the cell in the attribute table, the corresponding data will be highlighted as shown in the following picture.
Zoom to Layer: Calculates the bounding box of current vector data and displays all windows opened for this data globally within this bounding box range.
Line Width Setting: The line width of an individual vector file can be set separately or using global line width settings as shown below.
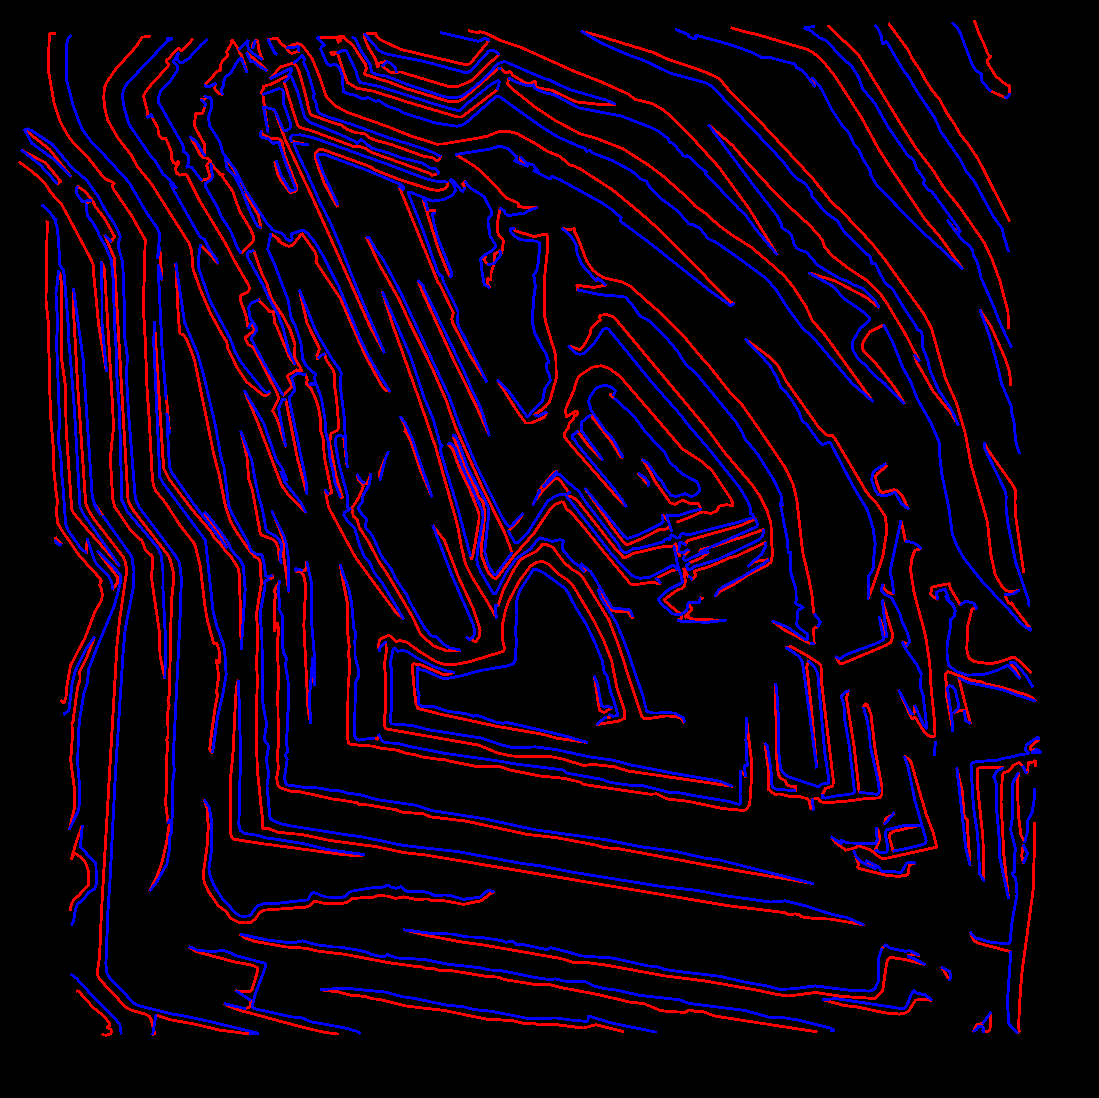
Display by Elevation: Maps elevation attributes of vector data to uniformly changing color intervals.
Display by Selected Color: Displays vector data with fixed colors.
Remove: Removes the selected vector data from the software.
Save: Provides a save function for files in vector editing.
Note: Except "Import Data” and “Remove”, other functions in context menu work on all windows that contains this vector file.