Accuracy Check
Usage
Click UAV LIDAR QC > Accuracy Check. After entering the data path and correct information, the table will be automatically populated. You can preview the table contents. Double-click any cell to manually modify its content. Click Finish to save after confirming all information is correct.
Process
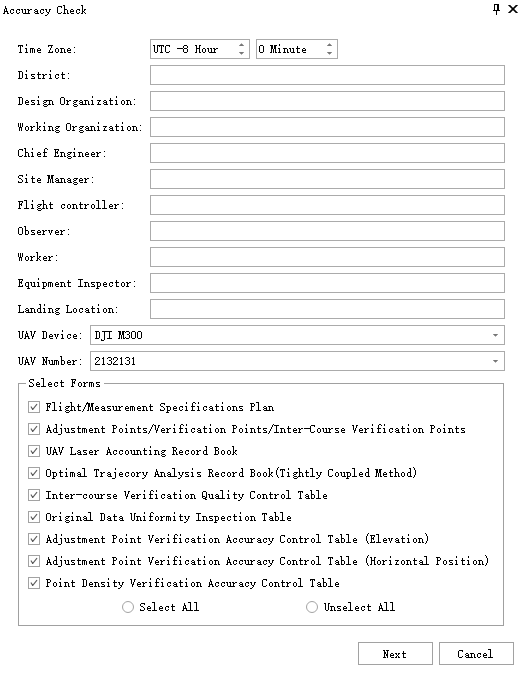
Parameter Page:
- Configure UTC time zone offset, District, Design Organization, engineer, UAV model, and SN number on this page. Select the required tables for processing by checking the corresponding boxes.
- Click Next to continue after confirming the inputs.
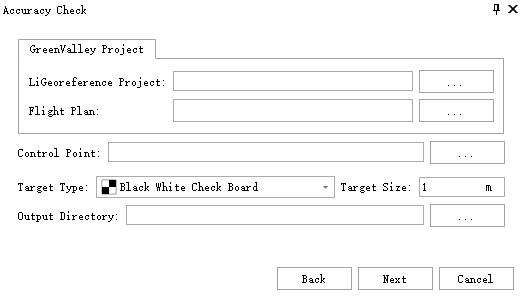
Data Page:
- Set paths for required data on this page. First, set the LiGeoreference project path. If control point tables were selected on the parameter page, provide the control point file path. Optionally set flight planning file paths (KML/KMZ files) as needed. Modify the report output path for custom saving locations.
- Configure target type and size for the control point file. Currently supports four recognizable target types: square black-white target, square color target, 2-layer concentric circle target, and 3-layer concentric circle target. Correct target identification is essential for subsequent processing.
- Click Next to continue after confirming the inputs.
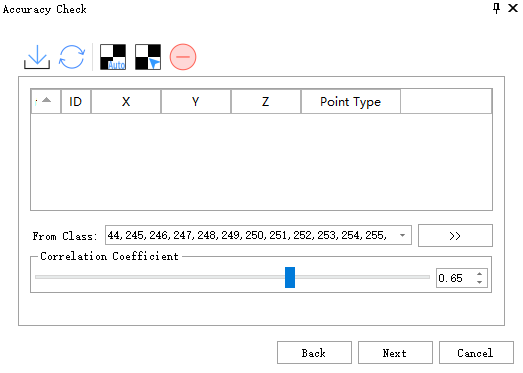
Control Point Page:
- After completing the data page, a control point import window will appear. Select the four required fields: control point ID, X, Y, and Z coordinates. Click Confirm to import.
- The control point page contains five buttons from left to right: Import Control Points, Update Control Point Data, Identify Targets, Manually Identify Targets, and Delete Control Points. Use these to re-import data, update modified points, re-identify targets, manually select targets in point cloud view, or delete selected control points.
- Select control point types from the dropdown: Adjustment Points, Check Points, or Strip Check Points.
- Adjust the correlation coefficient slider: Lower values make identification stricter but may cause errors; higher values increase precision but may prevent successful identification.
- Click Next to proceed to subsequent tables after updating data.
Flight/Measurement Specifications Plan: Records flight route planning details including flight parameters and laser scanner settings.
<div align=center>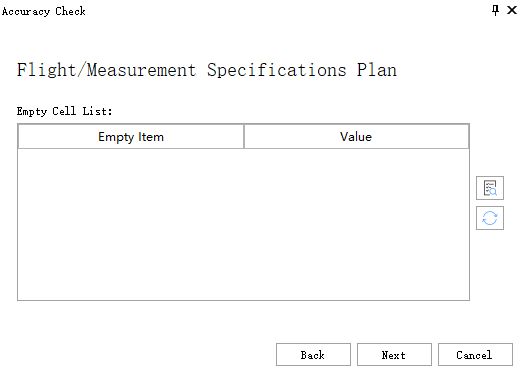 </div>
Adjustment Points/Verification Points/InterCourse Verification Points: Displays flight routes and control points graphically within the table.
<div align=center>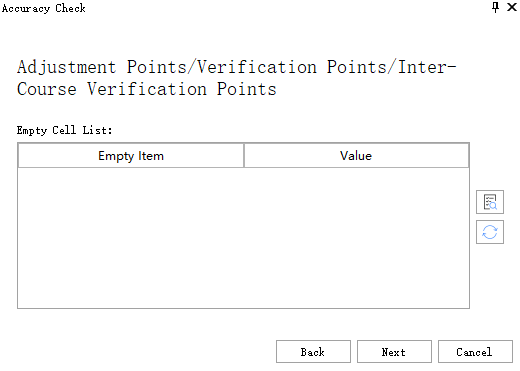 </div>
UAV Laser Accounting Record Book: Lists all flight line information with graphical route representations.
<div align=center> </div>
Optimal Trajecory Analysis Record Book (Tightly Coupled Method): Statistics for each trajectory segment from LiGeo project, including average/minimum satellite numbers, average/maximum DOP values, average/maximum round-trip differences, average/maximum attitude accuracy, average/maximum position accuracy, and fixed solution statistics.
<div align=center>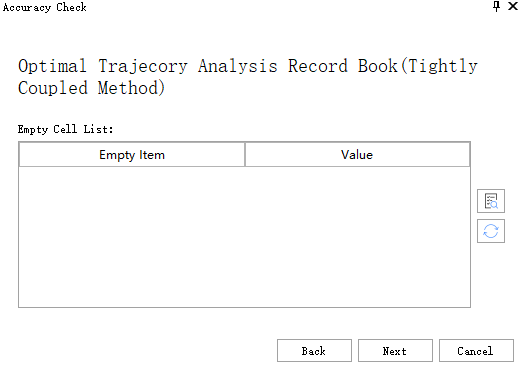 </div>
Inter-course Verification Quality Control Table: Lists all control points between flight strips, showing information for each adjacent strip pair. Switch between different adjacent strips using the list.
<div align=center>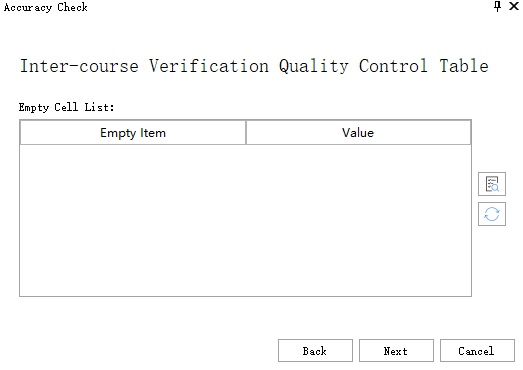 </div>
Original Data Uniformity Inspection Table: Calculates elevation differences between control points and measured positions. Switch between different control points using the list.
<div align=center>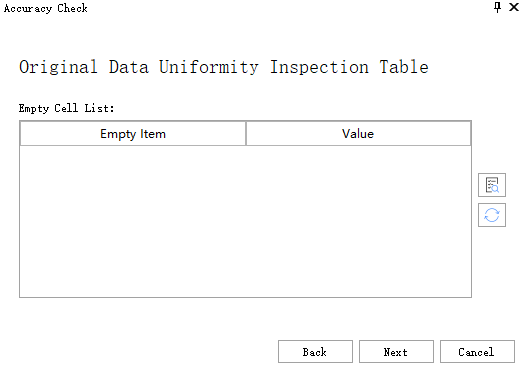 </div>
Adjustment Point Verification Accuracy Control Table (Elevation): Computes elevation accuracy for all adjustment points. Switch between different control points using the list.
<div align=center>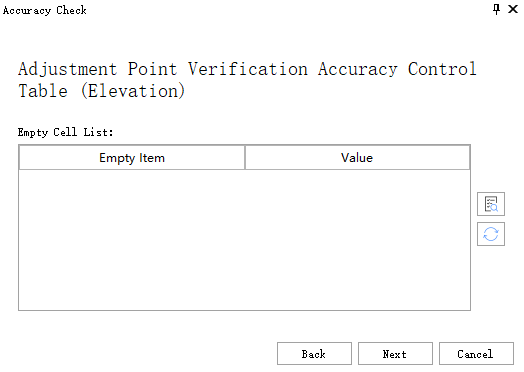 </div>
Adjustment Point Verification Accuracy Control Table (Horizontal Position): Computes horizontal accuracy for all adjustment points. Switch between different control points using the list.
<div align=center>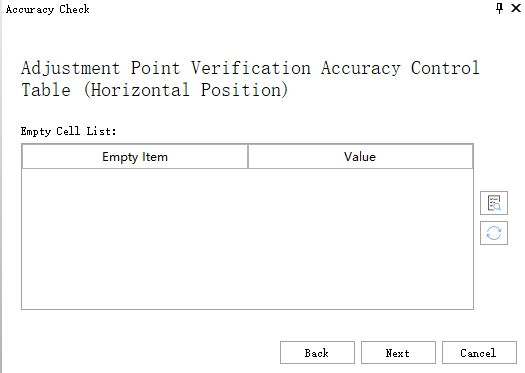 </div>
Point Density Verification Accuracy Control Table: Perform LiDAR point density checks with interactive operations:
- Modify area name in text editor, click Point Density button, select area in viewer (left-click start point, double-click to confirm area).
- Click Delete to remove selected row from list.
- Click Clear to remove all data.
- All operations automatically update the table data.
<div align=center>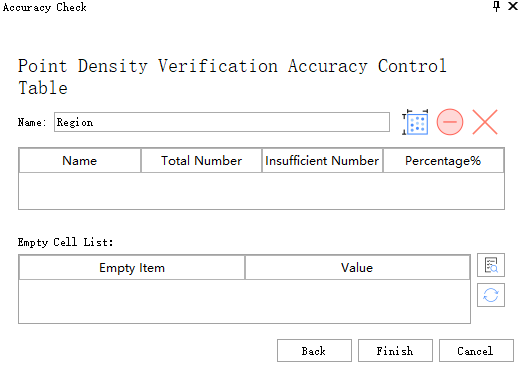 </div>
Report Output:
- Click Finish to generate and save the report to the target path after completing all tables.