Classify
Brief: A series of tools for manual point classification are integrated in the profile window.
Steps
Click to set From Class and To Class.
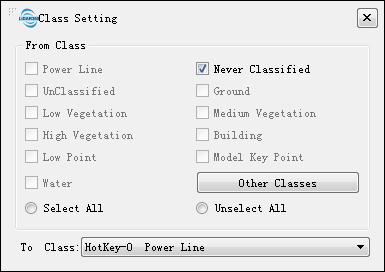
(Optional) Click Display > Class Setting Options to adjust the order of the drop-down menu.
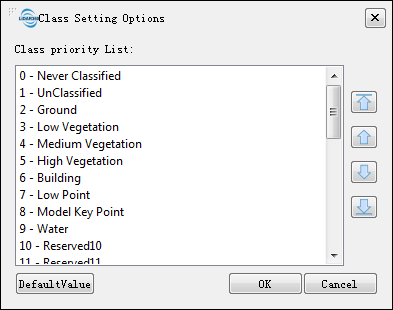
After selecting a class in the list you can click the buttons on the right side to modify its order:
 Up
Up
 Down
Down
 Top
Top
 Bottom
You can rename a class by entering a new name after double clicking the class, except classes 0-8, whose names are fixed. The custom name is locally effective.
Select points, whose classes will be modified, using tools listed below:
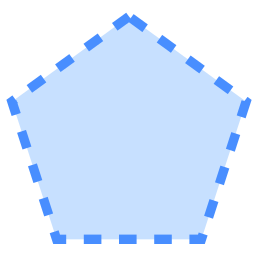 Polygon Selection: Even Odd Rule determines how a graphical shape with more than one closed outline will be filled. It is often used to select objects with complex outlines, such as tree, building, and so on.
 Rectangle Selection: Suitable for simple shapes. Axis aligned rectangles only.
 Circle Selection: In some cases, the circle selection is also very convenient, such as choosing round pool, or flower bed.
 Lasso Selection: Suitable for selection of those irregular area.
 Detect Plane: Suitable for select a plane, e.g. a road.
 Polyline Above Selection: Select points above the fold line.
 Polyline Below Selection: Select points below the fold line.
(Optional) Use Hotkey Ctrl+Z to undo the last operation.
(Optional) Click
 to clear all the operations.
Click
 to save.
Note: After automatic classification, manual checking/editing in the profile window is necessary for accuracy improvement.
From the classified points you can generate a TIN model, which is updated in real-time, to have an intuitive view of the result. It's helpful in manual editing.
All the operations of manual point classification are kept in RAM, please don't forget to save the changes to file.