Image Custom Deep Learning
This tutorial will utilize the custom deep learning functionality to achieve automatic building outline extraction.
Training Data Annotation
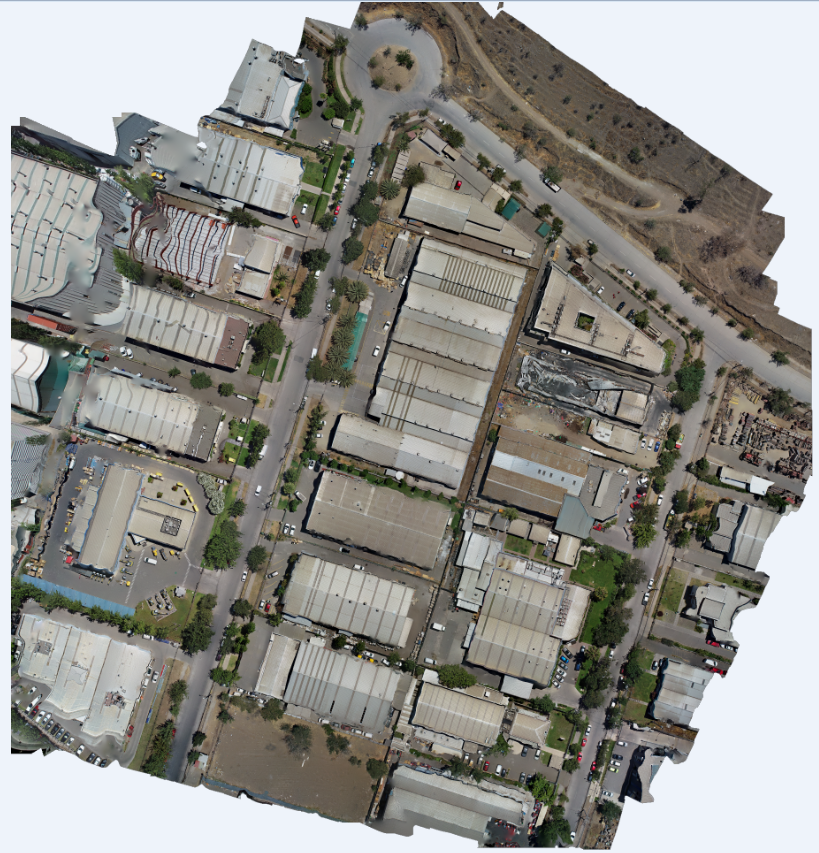
1. Prepare Data
Select building image data for annotation. The data is shown below, and this tutorial will use this data to demonstrate the entire process.
2. Data Annotation
The image model training supports annotation format in LabelMe's JSON format. You can use the vector editing functionality provided by LiDAR360 8.0 for data annotation, or directly use LabelMe's annotation tools. This tutorial uses LiDAR360 9.0 vector editing for data annotation.
2.1 Data Loading
First, open the data to be annotated using LiDAR360 software, then sequentially click Vector Editing -> Editor -> Create Temporary Vector. Change the layer name to the category to be annotated; here, set the layer name to "building".
Note: Try to select data with dimensions smaller than 4000x4000 for annotation. If it exceeds this size, it is recommended to split the image before annotation.
2.2 Semi-Automatic Annotation Tool Based on SAM
Data annotation can be done completely manually using vector editing functions to edit building outlines in the image to generate annotation files, or you can use the semi-automatic annotation tool SAM to quickly annotate the data. SAM is located in the Feature Extraction module of the current interface. Click SAM to start it successfully as shown in the figure below, then you can proceed to annotate buildings. For specific usage of this tool, please refer to the SAM manual.
2.3 Export Annotation Results to Training Format
After completing the annotation of the current image data, click Editor -> Export LabelMe. This will generate a JSON file with the same name in the same directory as the image, which is the annotation result file.
3. Building Outline Extraction Model Training
3.1 Training Data Organization
After all data is annotated, the annotation files and image files need to be organized in a specific format for training. The file structure is as follows:
data/building └───train │ -----image_1.tif │ -----image_1.json
│ -----image_2.tif │ -----image_2.json
│ -----image_3.tif │ -----image_3.json
.......
└───val
│ -----image_1.tif │ -----image_1.json
│ -----image_2.tif │ -----image_2.json
│ -----image_3.tif │ -----image_3.json
.......
The training data should include a train folder and a val folder. Both train and val folders contain multiple image files and their corresponding annotation files. In this tutorial, the same data is used for both train and val for demonstration purposes; in practice, they should not be identical. The train folder is used to train the model, and the val folder is used to validate the model's performance. The train and val sets must be manually split. A suggested ratio is 4:1.
3.2 Image Model Training Process
After data preparation, follow these steps in the LiDAR360 software: sequentially click Classification -> Custom Deep Learning Classification, as shown in the figure.
Add Task: Click the + button to add a training task. Select the second option, Train Image Model, and click OK.
Set Training Data Path and Validation Data Path: After selecting the data paths, click Next.
Set Data Preprocessing: Select the image size for training data, and click Next after configuration.
Set Model: Select the model, here choose "segmentation", and click Next.
Set Category Conversion: Set the annotation category to "building", and click Next.
Set Training Parameters: Click Next after configuration.
Set Data Augmentation: Proceed without data augmentation, click Finish, and wait for the training to complete.
After training is completed, it will look like the following:
4 Using the Image Model
After training is complete, you can use the trained model for building outline extraction. There are two main ways to use the trained model: one is within the Custom Deep Learning Classification tool, and the other is by adding a custom model within the Custom Classification tool. Both methods are described below.
4.1 Usage in Custom Deep Learning Classification
Click the + button to add an inference task. Select Classify Using Image Model and click OK.
Select the test data folder and the recently trained model file. Set the evaluation parameters and click OK.
After inference is complete, a JSON file with the same name will be generated in the same directory as the image. This result can be added to the training set for further model training.
4.2 Custom Model Classification
The trained image model can also be used via the custom classification method.
Click Classification -> Custom Class Setting to open the custom model interface, then click the + button to add the trained model.
Set a name for the custom model, select the model type as Image, and click OK.
After successfully adding the custom model, a "building" module will appear in Custom Classifications. Add the image from which you want to extract building outlines, click the "building" module, set the parameters, and perform building outline extraction.
Set the evaluation parameters and click OK.
Wait for the process to finish, and you will obtain the building outline of the test image.