Point Cloud Custom Deep Learning
This tutorial will utilize the custom deep learning functionality to achieve automatic point cloud classification.
Training Data Annotation
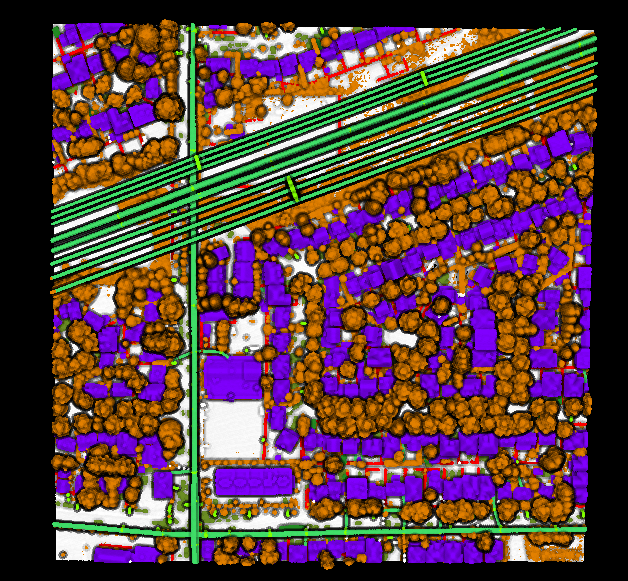
1. Prepare Data
Prepare annotated point cloud data for training. Example data is shown below.
2. Point Cloud Segmentation Model Training
2.1 Training Data Organization
After all data is annotated, the annotation files and point cloud files need to be organized in a specific format for training. The file structure is as follows:
data/ └───train │ -----*1.LiData
│ -----*2.LiData
│ -----*3.LiData
.......
└───val
│ -----*1.LiData
│ -----*2.LiData
│ -----*3.LiData
.......
The training data should include a train folder and a val folder. The train/val folders contain the point cloud files. In this tutorial, the same data is used for both train and val for demonstration purposes; in practice, they should not be identical. The train folder is used to train the model, and the val folder is used to validate the model's performance. The train and val sets must be manually split. A suggested ratio is 4:1.
2.2 Point Cloud Model Training Process
After data preparation, follow these steps in the LiDAR360 software: sequentially click Classification -> Custom Deep Learning Classification, as shown in the figure.
Add Task: Click the + button to add a training task. Select the second option, Train Point Cloud Model, and click OK.
Set Training Data Path and Validation Data Path: After selecting the data paths, click Next.
Set Data Preprocessing: Select Voxelization, set the parameter to 0.2, and click Next after configuration.
Set Point Cloud Blocking and Point Cloud Segmentation Model: For point cloud blocking, use segmentation by point count, with each block containing no more than 100,000 points. Select the DRINet model, which has relatively lower GPU memory usage. Click Next after configuration.
Set Category Conversion: Proceed without setting category conversion, click Next directly.
Set Training Parameters: For demonstration, set the number of epochs to 10. In actual use, this value should be increased based on task difficulty. Click Next after configuration.
Set Data Augmentation: Proceed without data augmentation, click Finish, and wait for the training to complete.
3 Using the Trained Model
After training is complete, you can use the trained model for point cloud classification. There are two main ways to use the trained model: one is within the Custom Deep Learning Classification tool, and the other is by adding a custom model within the Custom Classification tool. Both methods are described below.
3.1 Usage in Custom Deep Learning Classification
Click the + button to add an inference task. Select Classify Using Trained Point Cloud Model and click OK.
Select the test data folder and the recently trained model file. Set the evaluation parameters and click OK.
After inference is complete, the classified categories will be written into the data.
3.2 Custom Model Classification
The trained point cloud model can also be used via the custom model method.
Click Classification -> Custom Classification Settings to open the custom model interface.
Click the + button to add the trained model.
Set a name for the custom classification, select the model path, choose the model type as Point Cloud, and click OK.
After successfully adding the custom model, a tool named city (or the name you set) will appear in the Custom Classification module. Add the point cloud to be classified, click the city tool, set the parameters, and perform the point cloud classification.
Wait for the process to finish, and you will obtain the classified point cloud.