Class Setting Option
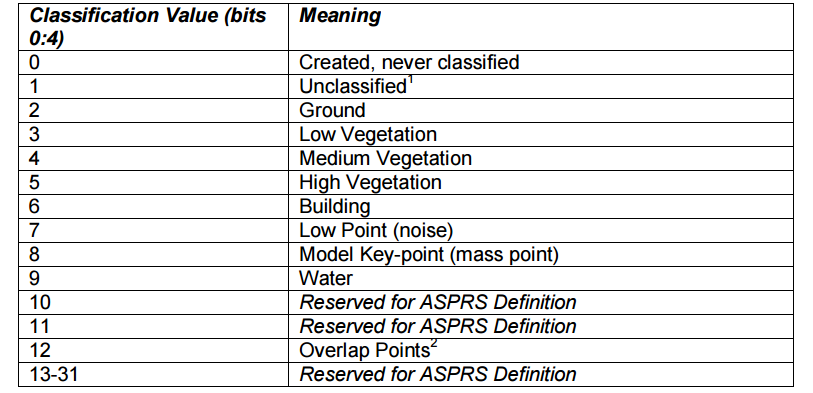
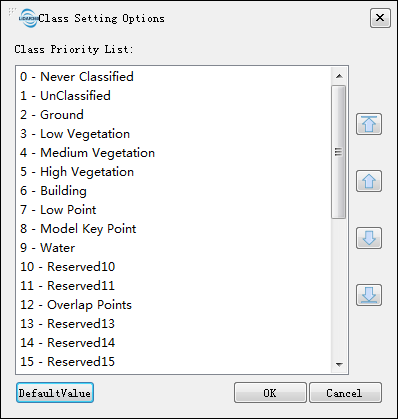
Brief: The class setting of LiPowerline complies with the ASPRS standard. As show in the figure below, the class 0-9 and 12 are fixed class type, the 10th, 11th, and 13th-31th class are reserved class. The fixed class can't be modified, and the reserved classes are customizable. This function set the order of classes according to the requirements and it will be displayed in order on the dialog and profile function.
Steps
- Click Display > Class Setting Option, open the dialog (default list of classes): class settings in the classification function interface are as shown in the following figure:
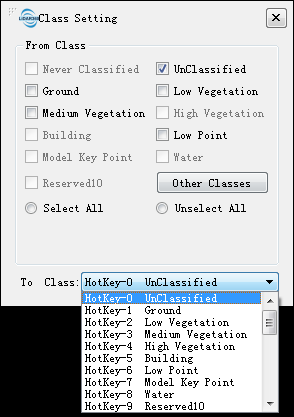
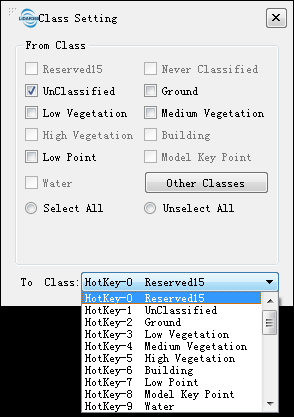
 The class setting interface in the profile is shown in the following figure:
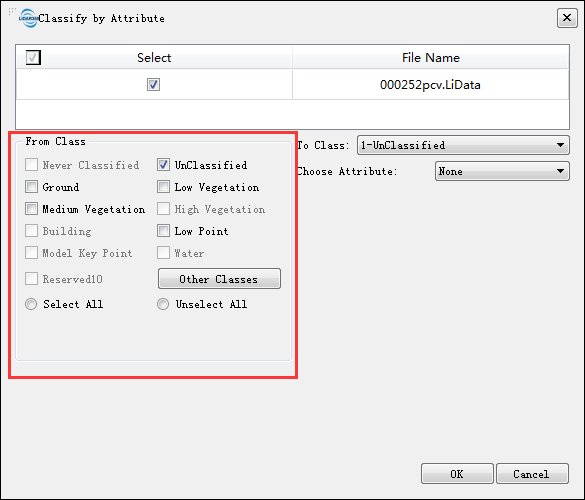
- Select one class, click the button
 to move down one step, click the button
  to move to the bottom, click the button
 to up one step, click button
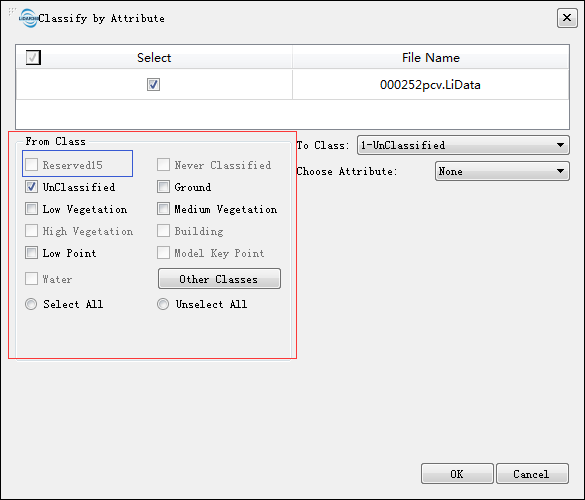
  to move to the top; or mouse drag the class to a fixed position. Taking Reserved15 class as an example, set the reserved15 as the highest priority, the class settings in the classification function interface and the class setting interface in the profile are shown in the following figure:
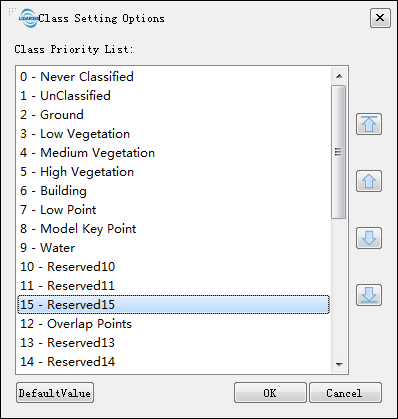
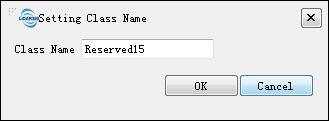
- Double click the class in the class list to setting the class's name. As shown below:
- Click "Default" to restore the class setting option to default.
- Click "OK" to save the current class setting list.
- Click "Cancel" to cancel the current class priority setting and restore to the previous setting.