## Tables Context Menu ##

### Functional Overview ###

The right button menu of table data in the layer management tree mainly includes import and export table data, it also contains display information, display settings, zoom to layer, display by selected color, display by height, recalculate the statistics, export, and other operations for single model data.

<div id="1"></div>

### Data Type Context Menu ###

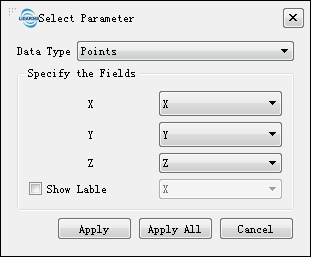
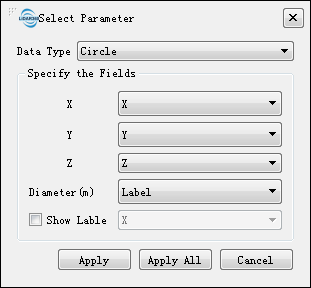
- **Import Data**: The import data format is CSV（* .csv）. If click this function, pop-up the dialog, select data type as "Point" or "Circle", and set the specified field X, Y, Z, Diameter (if the data type is circle), and check whether to show labels.
	<div align=center>
	<img src="../../ScreenShot/en/ProjectTree/DisplayAsPoint.png" alt="Tables" width="280" style='margin-left:24%；'/>
	</div>
	<div align=center>
	<img src="../../ScreenShot/en/ProjectTree/DisplayAsCircle.png" alt="Tables" width="280" style='margin-left:24%；'/>
	</div>
	<div align=center>

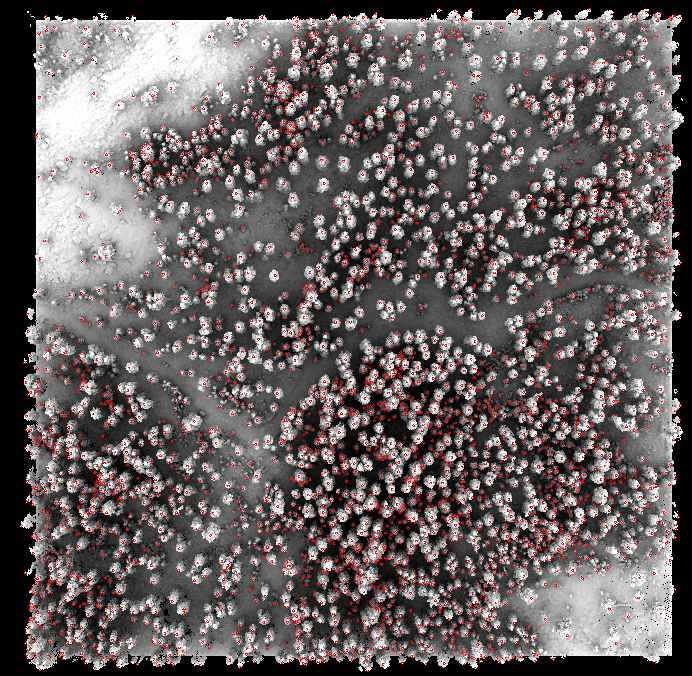
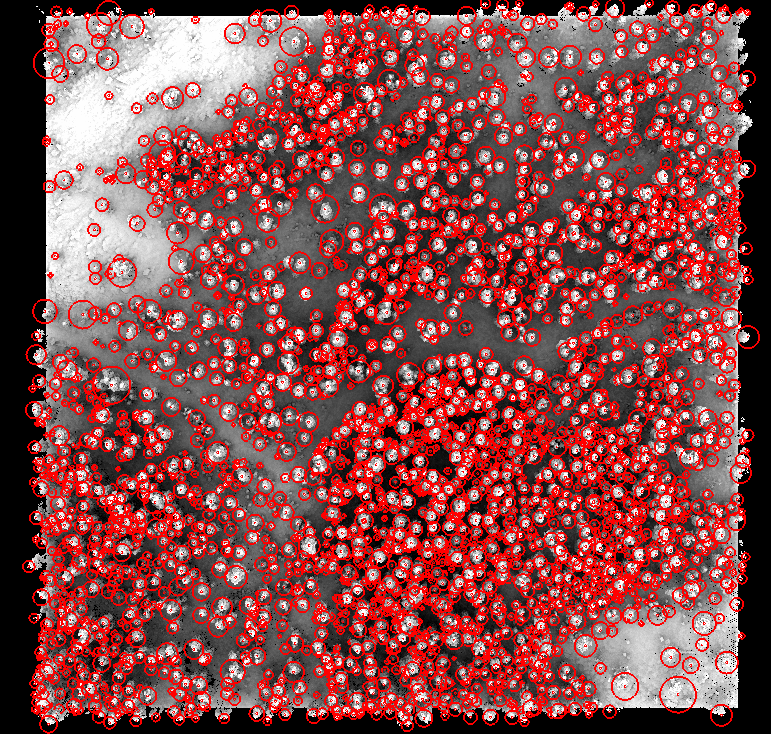
Select data type as Point/Circle, the table file displayed as below:
	<div align=center>
	<img src="../../ScreenShot/en/ProjectTree/DisplayAsPoint1.png" alt="Tables" width="480" style='margin-left:24%；'/>
	</div>
	<div align=center>
	<img src="../../ScreenShot/en/ProjectTree/DisplayAsCircle1.png" alt="Tables" width="480" style='margin-left:24%；'/>
	</div>

- **Remove All**: Remove all table files from LiDAR360.

<div id="2"></div>

### Data Context Menu ###

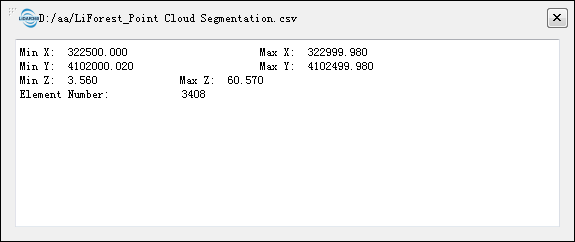
- **Info**: View the table's basic information, including path, the number of elements, the minimum and the maximum of X, Y, Z values.
	<div align=center>
	<img src="../../ScreenShot/en/ProjectTree/TableInfo.png" alt="Tables" width="480" style='margin-left:24%；'/>
	</div>

- **Open Containing Folder**: Open the folder.
- **Rename**: Rename the file. 
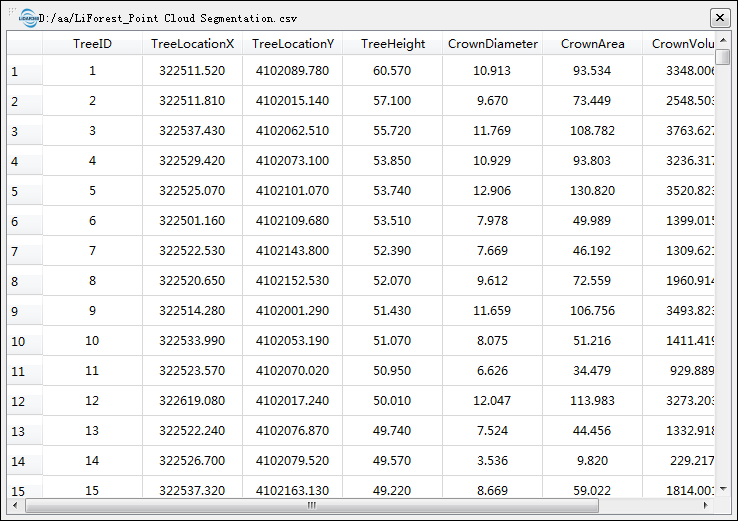
- **Attribute Table**: Display the contents of the table. As shown in the following figure, double click specific row, the window will go to the position.
	<div align=center>
	<img src="../../ScreenShot/en/ProjectTree/TableContext.png" alt="Tables" width="480" style='margin-left:24%；'/>
	</div>

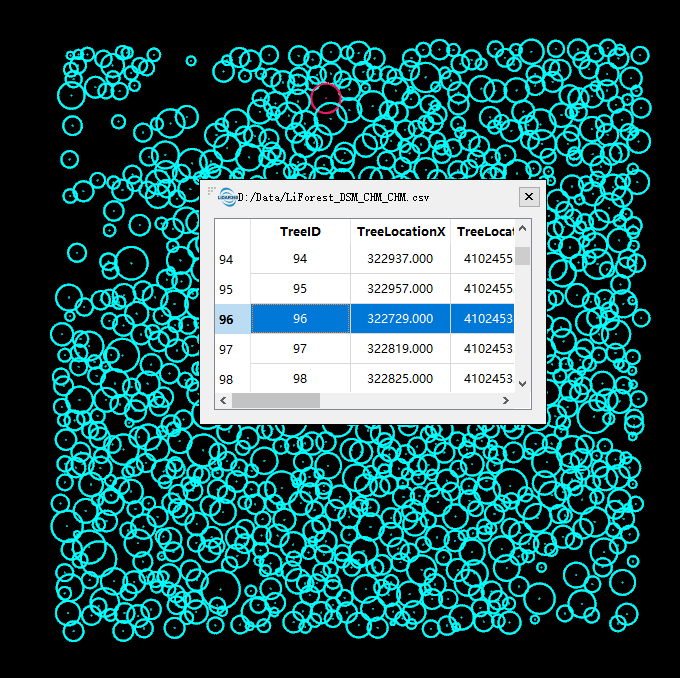
	+ Single-click the row or the cell in the attribute table, the corresponding data will be highlighted as shown in the following picture:
	<div align=center>
	<img src="../../ScreenShot/en/ProjectTree/LayerTreeTable_Highlight.png" alt="Table" width="480" style='margin-left:24%；'/>
	</div>
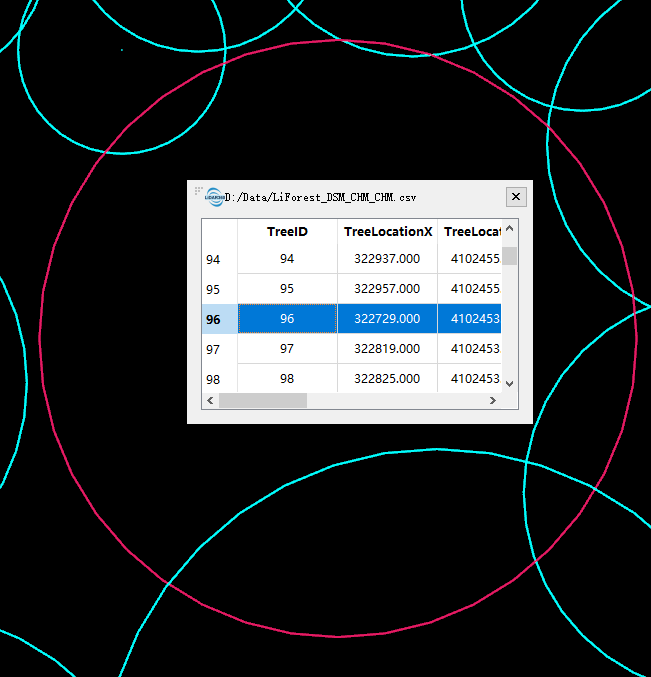
	+ Double-click the button in front of the row in the attribute table, it will zoom to the corresponding data, as shown in the following picture:
	<div align=center>
	<img src="../../ScreenShot/en/ProjectTree/LayerTreeTable_DoubleClick.png" alt="Table" width="480" style='margin-left:24%；'/>
	</div>

- **Zoom to Layer**: Calculates the bounding box of the current table data, and all windows that contains this file will display globally in this bounding box range.
- **View Mode**: Configure the display mode for the current table data, including setting it to display as points or circles, whether to show labels, and the fields to be displayed on the labels.
- **Point Size**: Set the size and shape (circular or square) of the display points for the current table data.
- **Label Size**: Set the size of the display labels for the current table data.
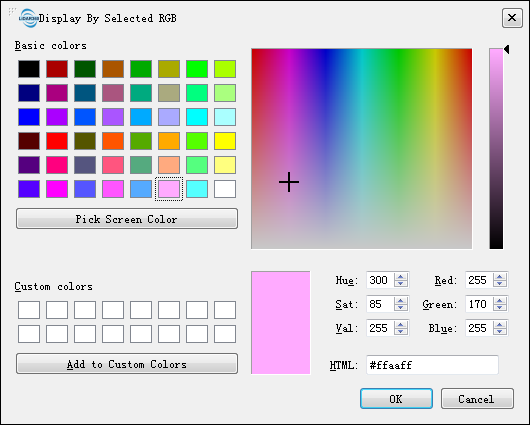
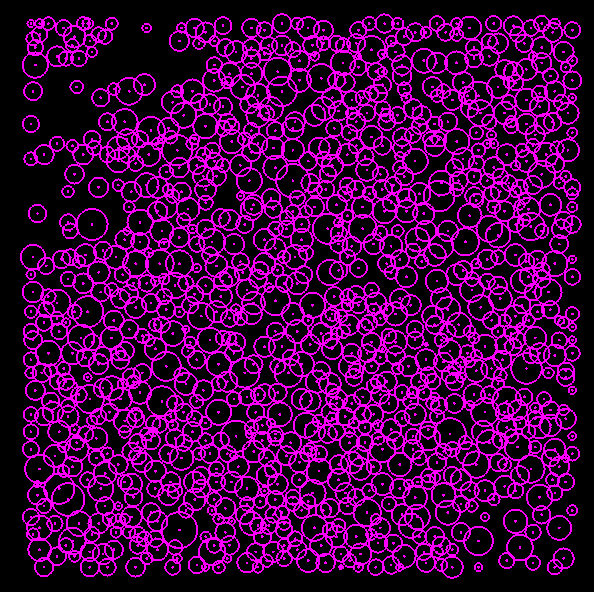
- **Display by Selected**: Display the table data by selected color, as shown in the following picture:
 <div align=center>
 <img src="../../ScreenShot/en/ProjectTree/SelectColor.png" alt="Table" width="480" style='margin-left:24%；'/>
 </div>
 <div align=center>
 <img src="../../ScreenShot/en/ProjectTree/LayerTreeTable_DisplayBySelected.png" alt="Table" width="480" style='margin-left:24%；'/>
 </div>
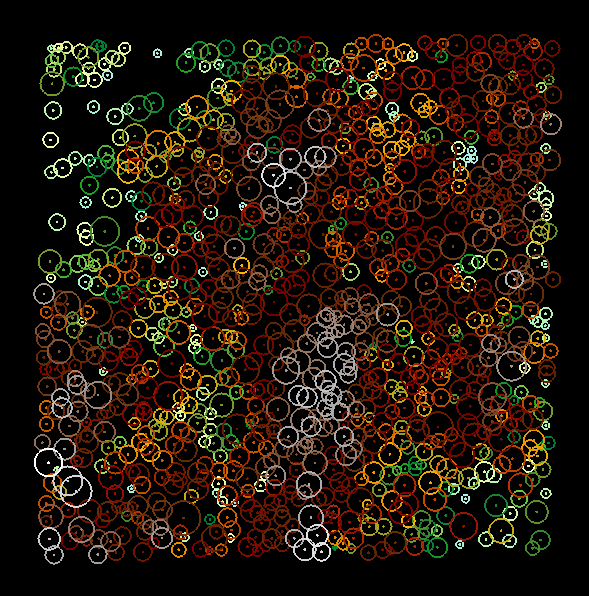
- **Display by Height**: Correspond the elevation information of the table data to a uniformly changing color band. And display the table data on the screen as shown below:
<div align=center>
<img src="../../ScreenShot/en/ProjectTree/LayerTreeTable_DisplayByHeight.png" alt="Table" width="480" style='margin-left:24%；'/>
</div>
- **Remove**: Remove the selected file from LiDAR360.

> Note: Except "Import Data", the other function in context menu work on all windows that contains this table file.